
Thanksgiving may be looking a little different this year, but one thing remains the same: Preparing a big meal like this is stress level 💯. But it doesn’t have to be that way! Cravings is here with our inaugural Tipsgiving: A week of tips, tricks, fixes, and hacks to make Thanksgiving easier. Whether that’s a foolproof way to guarantee crispy turkey skin and juicy meat, a guide to what side dishes you can actually make in advance, or a way to make your store-bought pie crust look waaay fancier, we’ve got you. For our final day, here’s our guide to bake your pies to the next level.
1. Improve Any Pie with 1 Easy Key Ingredient
Even with the simplest of pies, there’s one thing you always need to do: use ice cold water when preparing the dough. Full stop. This cold water helps keep the dough as cold as possible and prevents fat (like butter or shortening) from melting. This will make the crust suuuuper flaky because those still-intact pieces of butter will melt inside, the water content in the butter will evaporate and steam, and the dough will expand to create layers! Starting with cold butter also helps here, and make sure not to overmix the dough. (If not using a food processor, it’s helpful to use a fork or pastry cutter rather than your hands, which are naturally warm.) If that butter melts before it gets into the oven, the layers will be tougher and crunchier rather than airy, light, and flaky.
2. Why You Should Be Par-Baking For Ultra Crispy Crusts
Par-baking, or blind baking, is baking a crust before you fill it. Usually this is reserved for cold pies, like chocolate cream, where the filling doesn’t need to be cooked. But you can also par-bake to ensure that the crust won’t have a… soggy bottom! (Said in extreme Great British Bake-Off voice.) To do this, make (or buy) your pie dough and place it in your pie dish. Put a piece of parchment paper over the crust and then add pie weights to make sure it doesn’t puff up in the baking process. (If you don’t have pie weights, keep reading—we have tips on substitutes, too!) Bake it at 425°F for 15 minutes, or just slightly golden. Then remove the pie weights and bake again—the filling will determine how long you should bake a second time. For pies with fillings that require baking, such as fruit pies or custards, we suggest baking your crust for 10 minutes or so. You want to ensure your crust is firm but only lightly golden so that when you add the filling and cook for a final time, it won’t burn. For pies with fillings that don’t require cooking, like cream or pudding-based pies, bake your crust for another 20 minutes, or until deep brown and ready to eat.
3. Raid Your Pantry If You Don’t Own Pie Weights

If you don't own pie weights, dried beans, rice, or white sugar will work in a similar way. Line the pie crust with parchment paper, then pour in your pantry staple of choice. Sugar is our favorite substitute because it gets nice and toasty in the oven to use in future baking projects.
4. How to Make Any Pie Prettier
One of the easiest ways to wow your guests is by adding some flair to your pies. Lattice-topped pies (aka weaved strips of dough) look impressive, but really aren’t that difficult. To do it, roll out your pie dough about 1–2 inches bigger in diameter than the pie crust dough. Use a pizza cutter or sharp knife and cut ½-inch strips across. You should have 10–12 strips total. After you fill the pie with the filling of your choice, lay 5–6 strips down (depending if you end up with 10 or 12) in one direction, parallel. Then, fold every other strip (2–3 total) all the way back. Take one of the unused strips and place it perpendicular on top. Start with the other 2–3 parallel strips and fold back. Repeat steps.
If you want it to take it up a notch, try braiding your lattice strips. Again, you’ll want to roll out your pie dough just as you would for a lattice topping, but this time, cut dough into ¼-inch strips. You should have about 24 strips total. Taking three strips, pinch the tops together until they form one, and begin braiding like you would challah, babka, or even hair. (Sorry, we know that sounds kind of weird… but it’s true!) Once done, you should have 8 braids total. Follow the lattice pie steps (above) to achieve that criss-cross pie top.
And if all of this sounds great in theory, but too complicated, one of the easiest ways to decorate your pie is by using mini cookie cutters on the leftover scraps and applying fun and festive shapes on top. You can even do any of these methods with store-bought dough and no one would know...
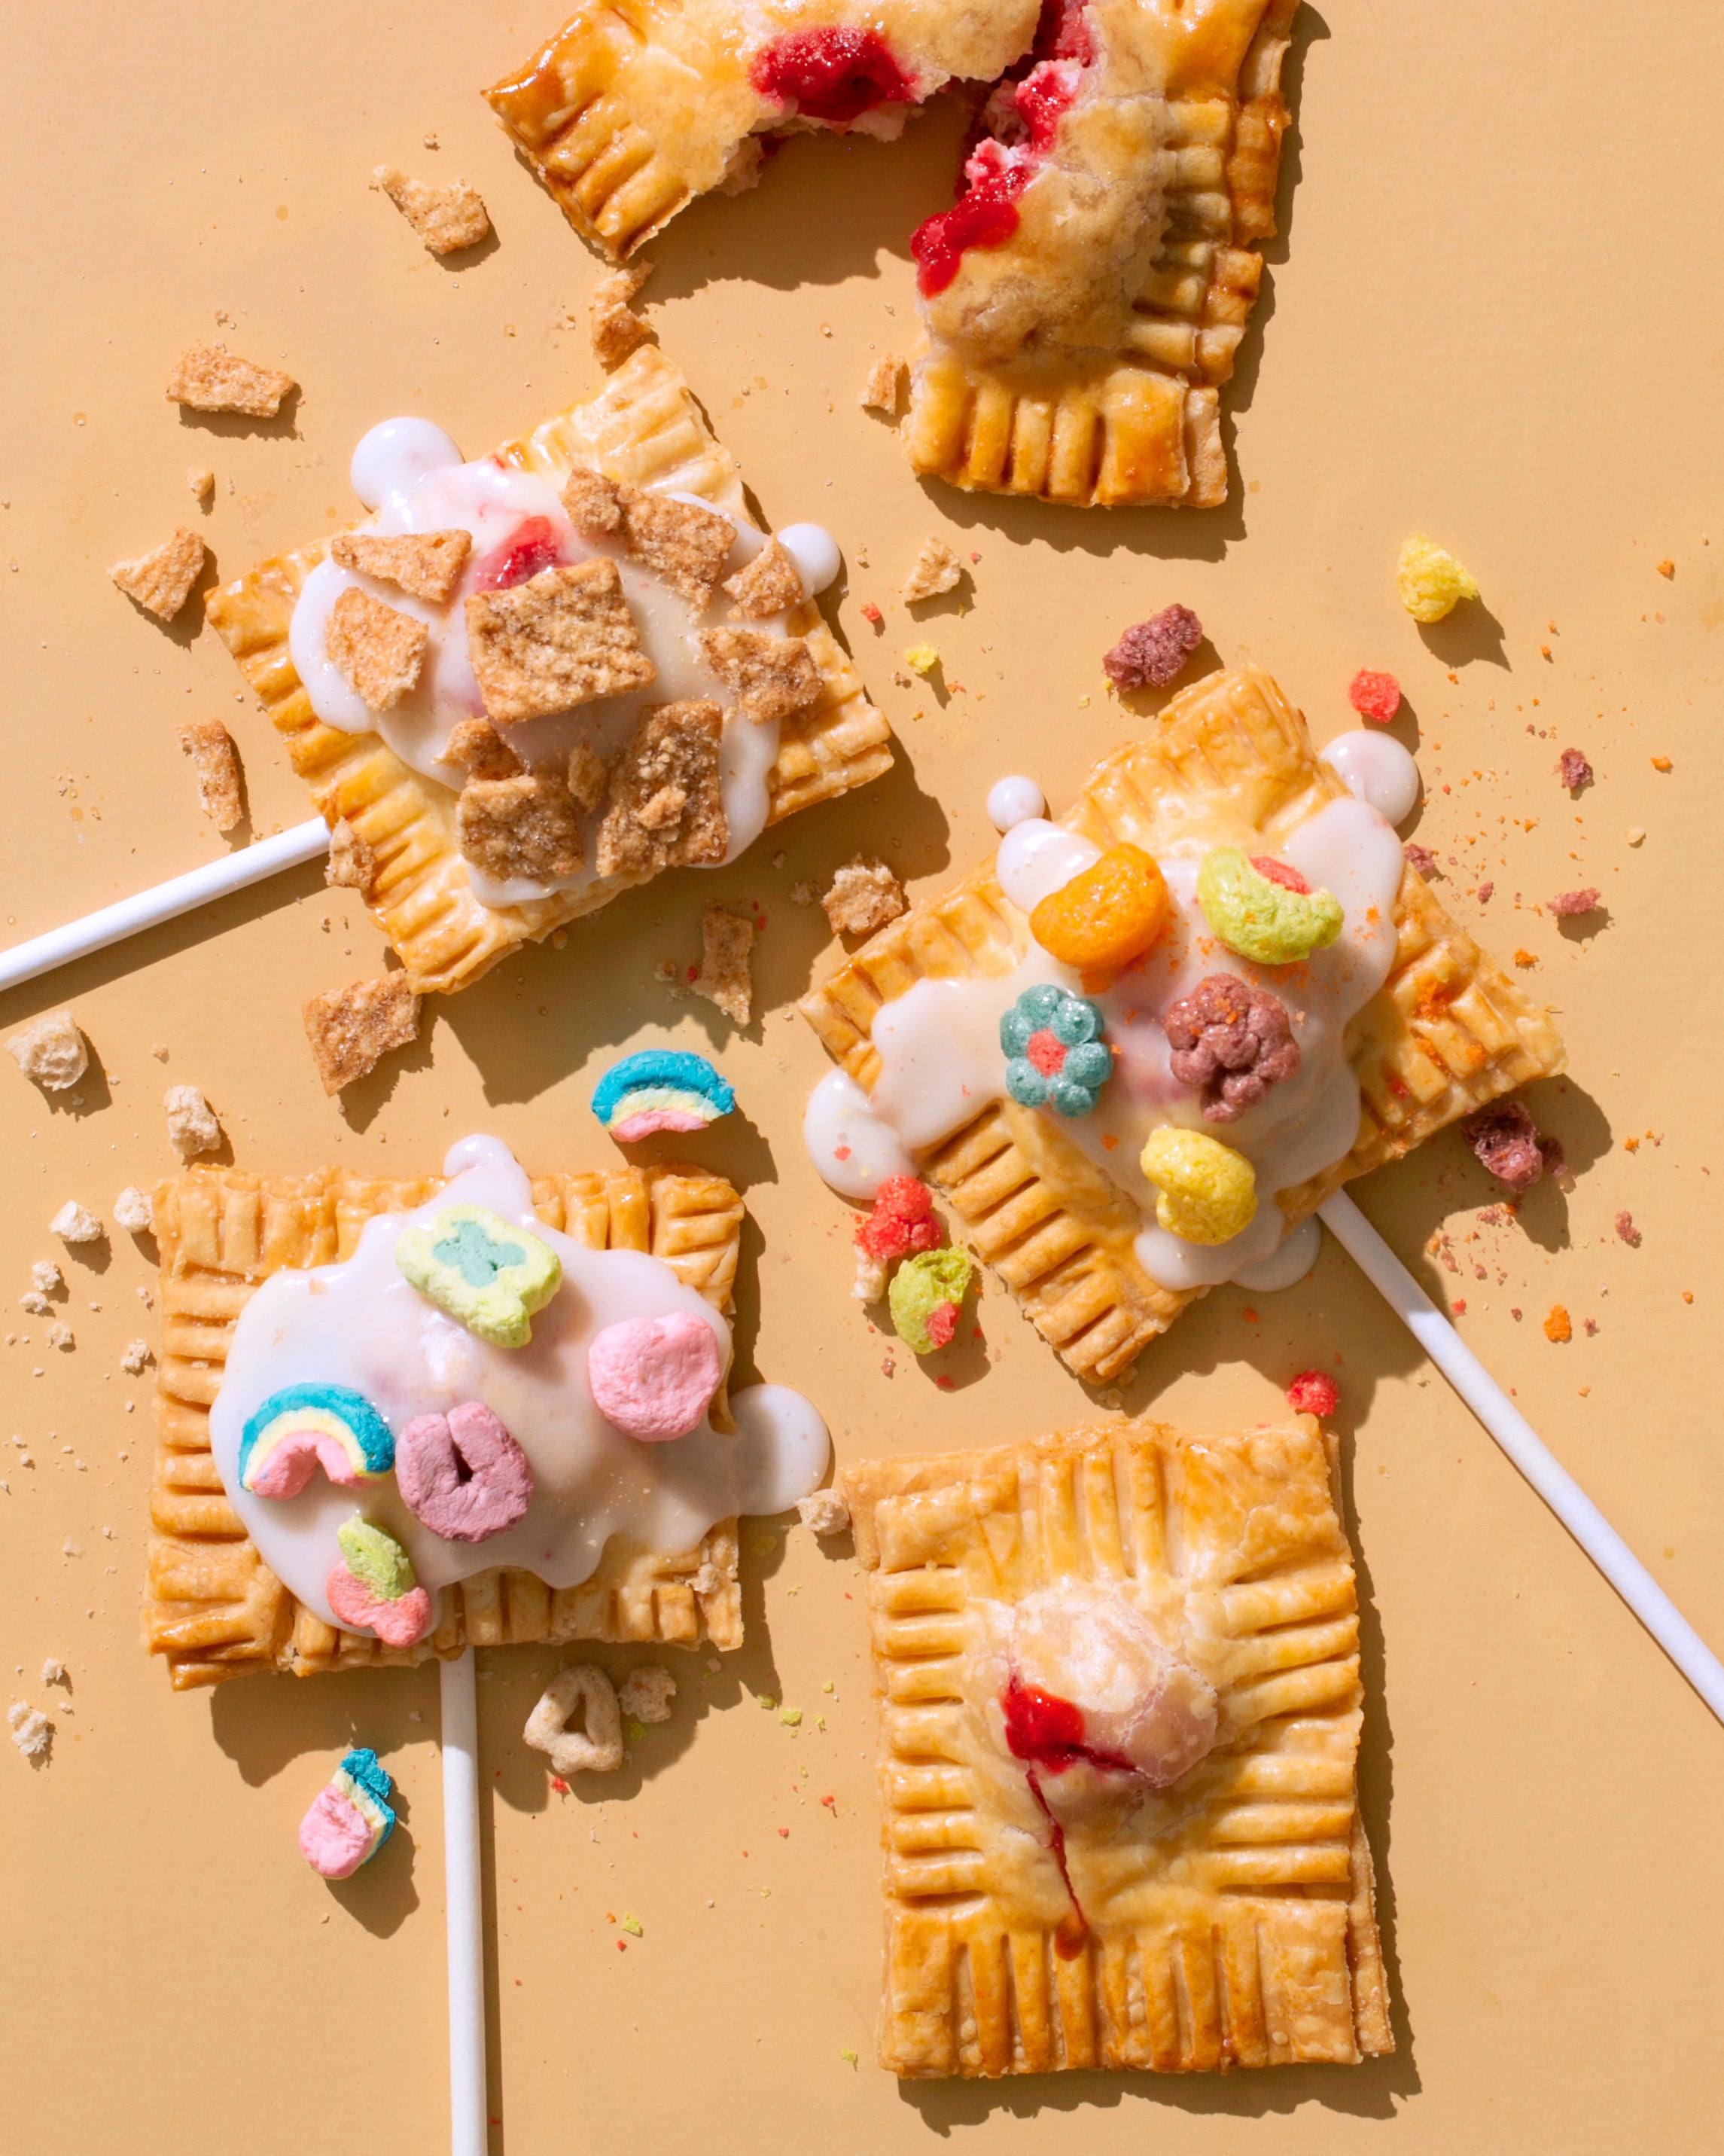
5. Shrink Your Pies for More Variety
If you’re hosting an intimate Thanksgiving or just have indecisive guests, try making individual pies! Simply follow a pie dough recipe as you would, but divide the dough into 24 mini balls. Roll out the dough from ⅛-to-¼-inch thick, and use a 3-or-4-inch cookie cutter or the mouth of a water glass to create individual-sized pie crusts for the top and bottom. Then, place one circle of dough in a muffin or cupcake tin, add filling, and cover with the second piece of cut dough. For hand pies, cut dough into rectangles, add filling, and crimp edges with a fork. Because they’re smaller, you can definitely eat two or three. That’s the sweet magic of Thanksgiving.