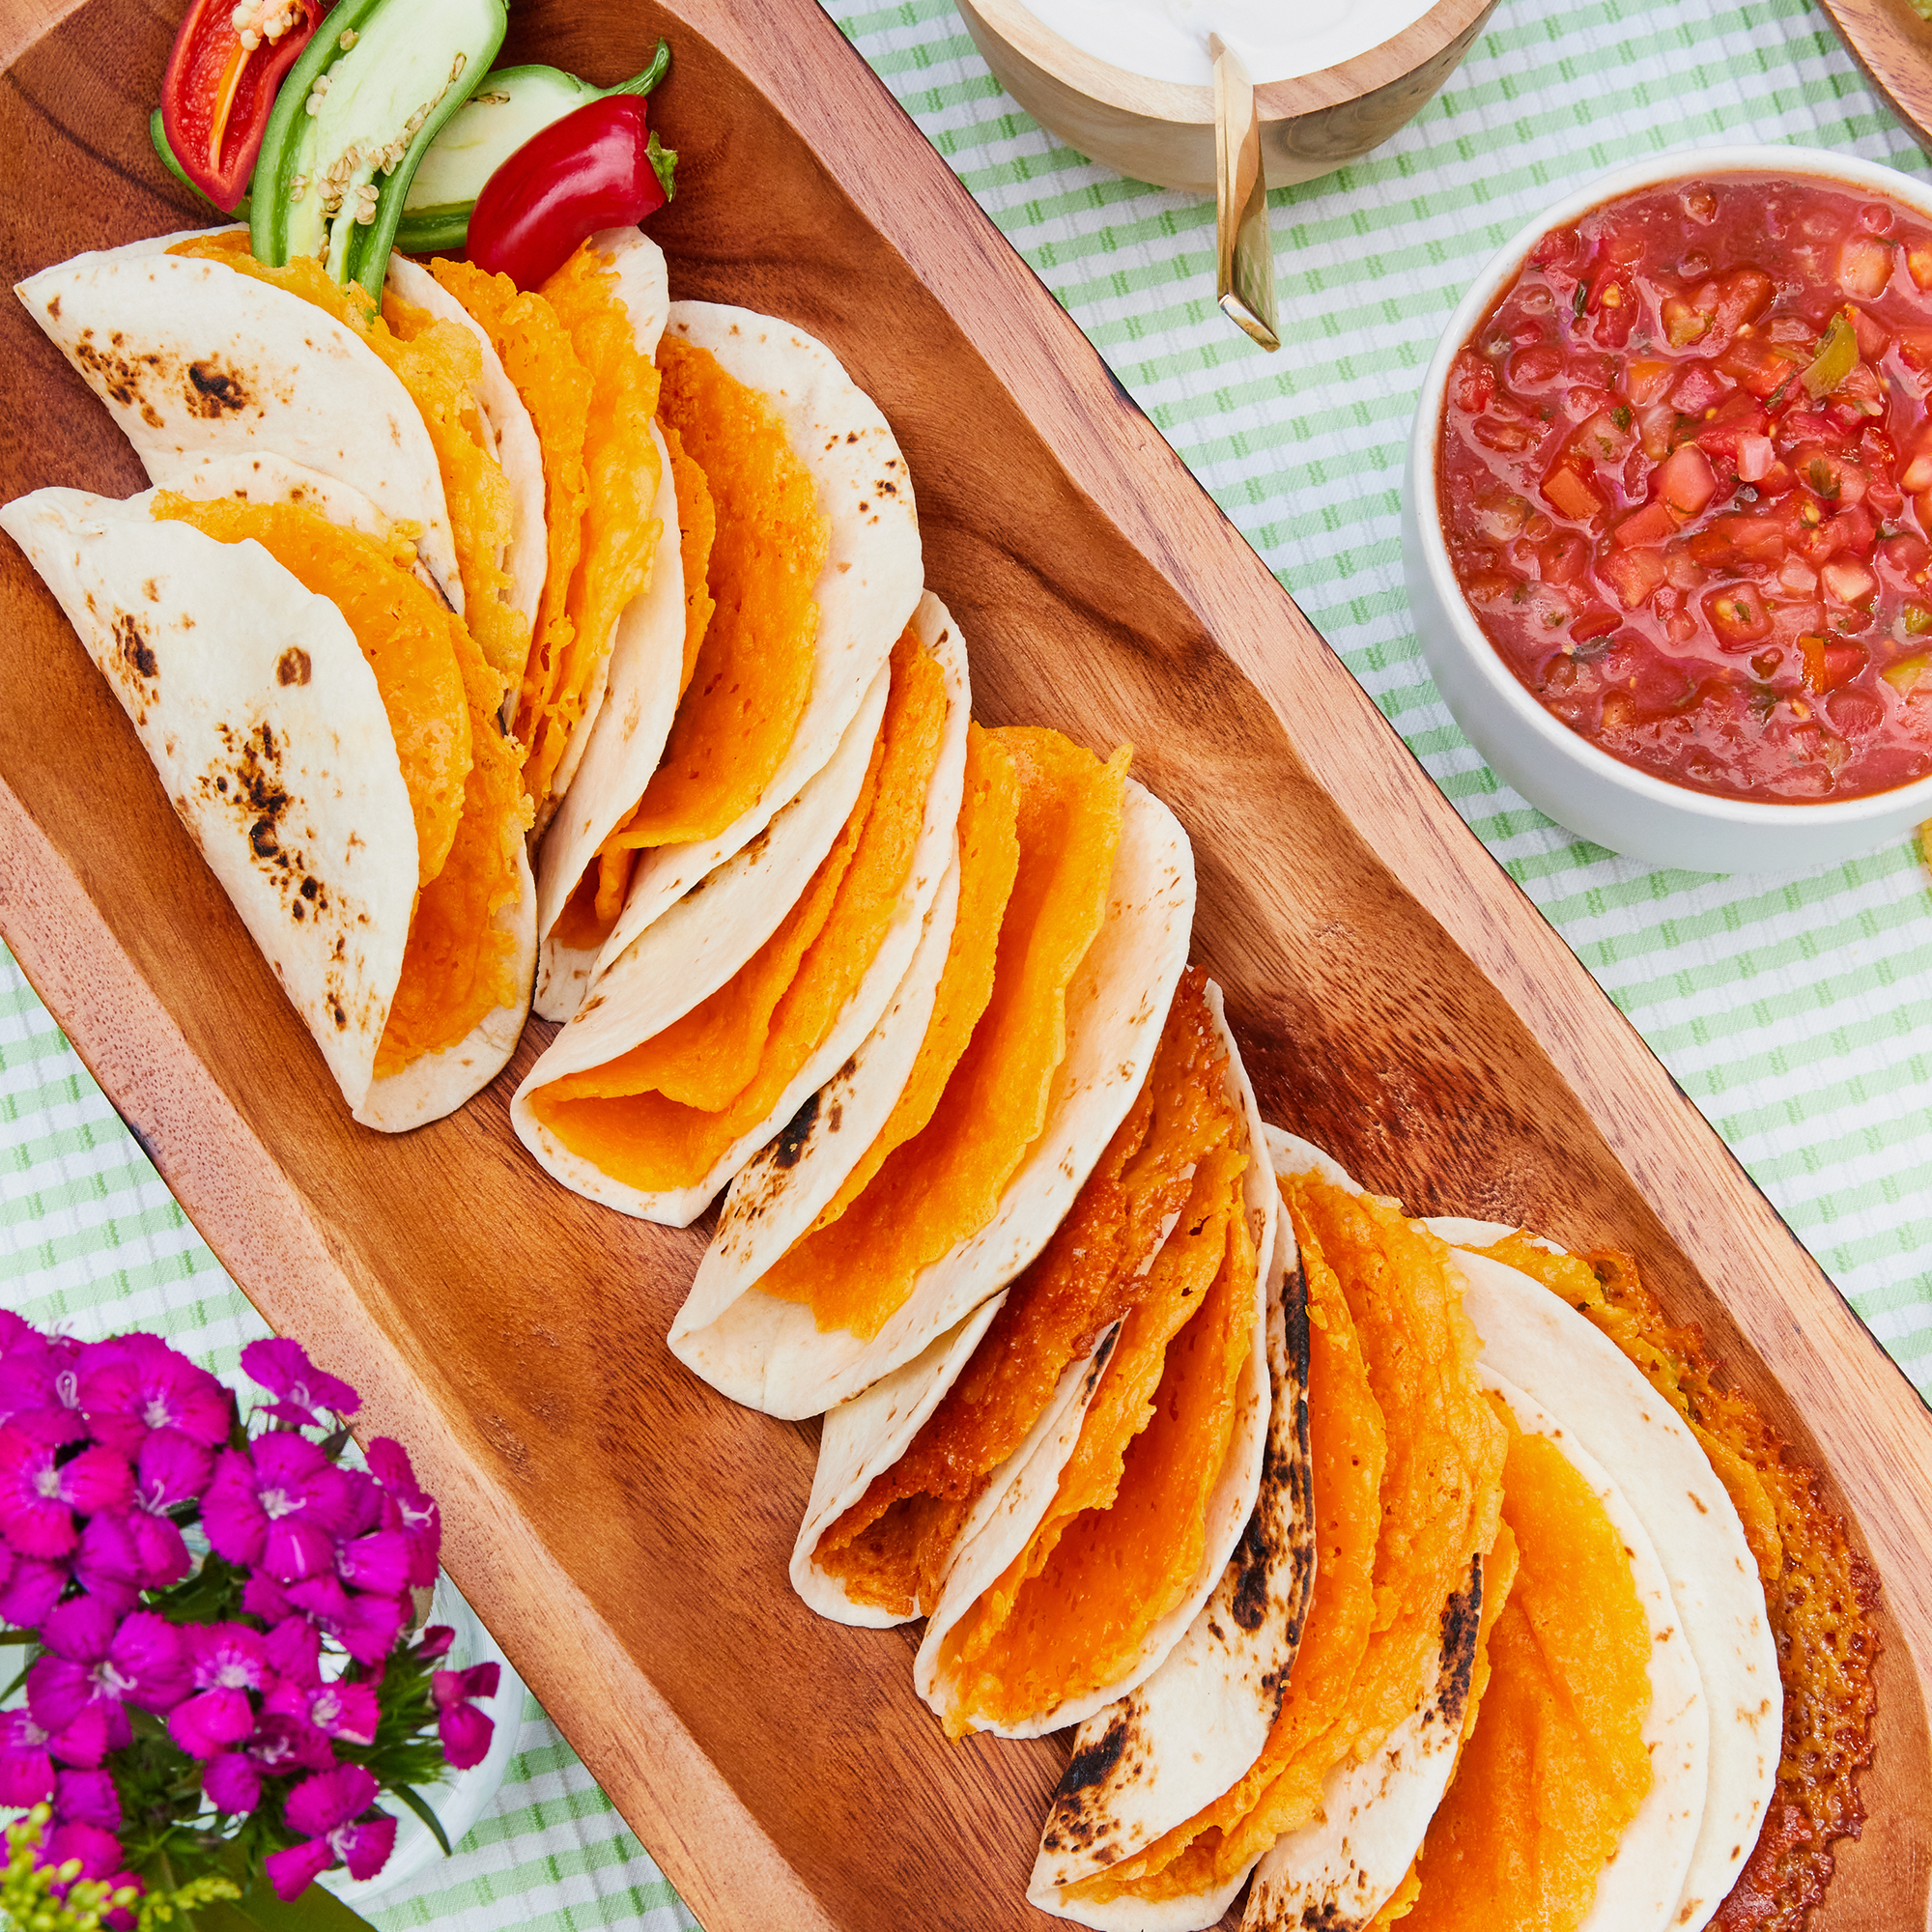
Topping tacos with lots of cheese is great, but making taco shells out of cheese is even better. These crispy cheese shells are the easiest way to level-up your DIY taco night. Rather than having to choose between soft tortillas or hard-shell tacos, you can now enjoy both in one perfect bite! Orange cheddar makes for the brightest shells packed with sharp, tangy, cheesy flavor, but you could try pepperjack for a kick of extra spice. Whatever cheese you use, they happen to be keto-friendly and gluten-free... if you don’t wrap the flour tortilla around them for this double-decker taco.
And as for actually making the cheese shells? It’s surprisingly easy—and super satisfying to watch them bubble and crisp in the pan. But to help make it even easier for you to upgrade your next Taco Tuesday, we’ve got a foolproof step-by-step guide for you. Follow it and you’ll have guaranteed cheesy taco greatness.
1. Set Up Your Shell-Shaping Station
To make that signature hard taco shell, you’ll need to set up a shaping station. Set two jars, glasses, or cans of equal height (at least 4 inches high) on a counter and use them as the ends to balance a spatula or wooden spoon with a long handle. Think of the wooden handle as a hanging clothesline, but instead of draping freshly washed clothes you are “hanging” your cheese tacos here to cool down.
2. Add the Cheese & Get to Melting!
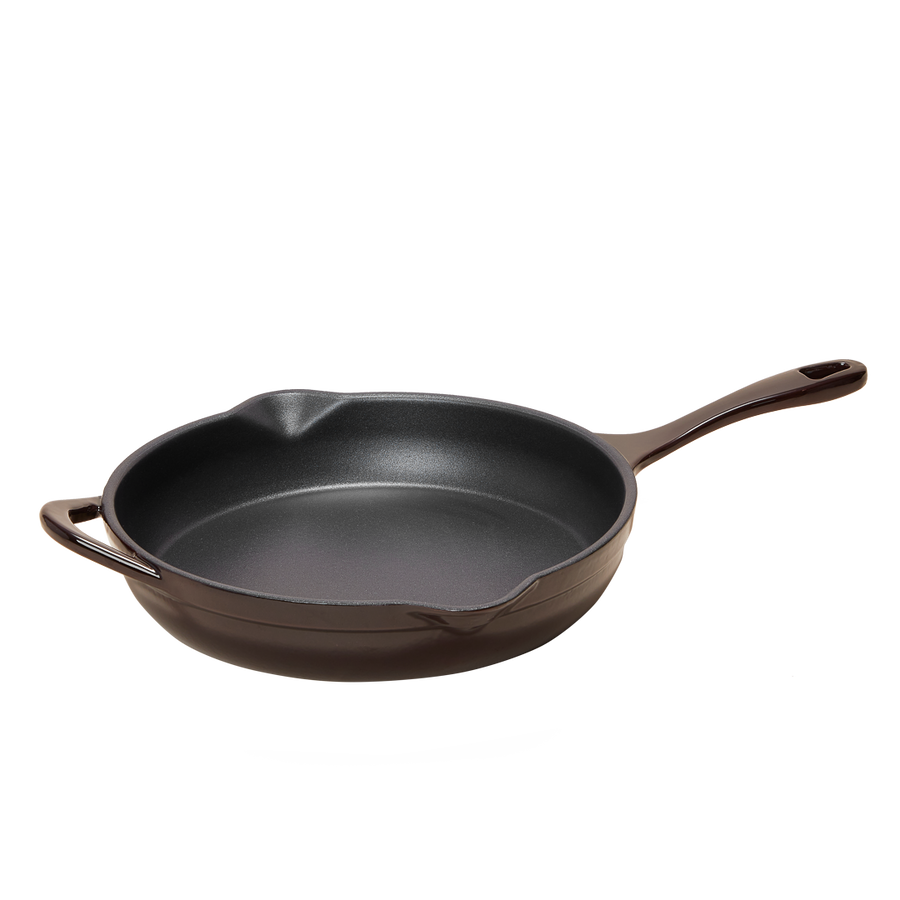
Preheat a large nonstick skillet over medium-low heat. Add ⅓ cup shredded cheddar cheese and spread into a 5-inch circle using the back of the measuring cup, a spoon, or your fingers if you work very carefully and quickly. (We don’t recommend this as your first option!) Let it cook for 3 minutes, or until uniformly melty and just a bit golden brown. Turn the heat off and let it cool briefly, then flip and let it cook 1 minute more.
3. Make That Signature Taco Shell Shape
While still warm, pick up each cheese taco with a spatula and drape over the suspended wooden spoon handle evenly so they are hanging upside down. Gravity will turn them into a taco shell! (If you don’t have multiple setups, you can make them one at a time!) Repeat, making one or two shells in the skillet at a time. Let cool, then arrange on a serving platter.
4. Assemble and Enjoy!
Nestle a crispy cheese shell inside a flour tortilla for a double-decker taco and fill it with meat, more cheese, tomatoes, sour cream, salsa, cheesy guacamole, or any combination your heart desires. You can eat the cheese shells without a second tortilla, but they will be messier. (Worth it!)
And if you need a weeknight pick-me-up cooking playlist, listen to our favorite songs—and some curated by Cravings followers!—for good vibes in the kitchen. Spotify playlist


