It doesn’t feel like a party until there’s cake, but who says that cake has to be sweet? Swap out the celebratory dessert for a cheese “cake” tower, made from stacking wheels of cheese instead of actual cakes. Even though it looks impressive, it’s incredibly easy to make and can be adaptable to however many people you’re hosting, any size budget, and your favorite styles of cheese. We’re big fans of cheese plates here (and even have a new Sweet & Spicy Charcuterie Board), but this is an unexpected, fun, and modern twist for holiday entertaining—especially when plated on The Show-Off Glass Serving Dome.
To get the lowdown on how to properly build a cheese “cake,” we chatted with Mari Gaube from Murray's Cheese, who has made more than 150 of them in her career. Follow along with her tips for a guaranteed show-stopping and delicious centerpiece at your next gathering.
1. Start with a sturdy base
Before you head to the store, think about how many people you’re serving. Mari suggests estimating two to four ounces of cheese per person. Three wheels is a good starting point, but your tower can be as tall and impressive as you’d like, or small and dainty for a more intimate gathering. The base should be about six to eight inches, the size of a traditional birthday cake. You want the most firm wheel of cheese at the bottom so the whole thing is supported and sturdy, so we recommend a manchego, gouda, or pecorino. To help get height on your cheese tower, try to find a taller base wheel so it takes up more horizontal space in the “cake” tower.
2. Make each layer slightly smaller
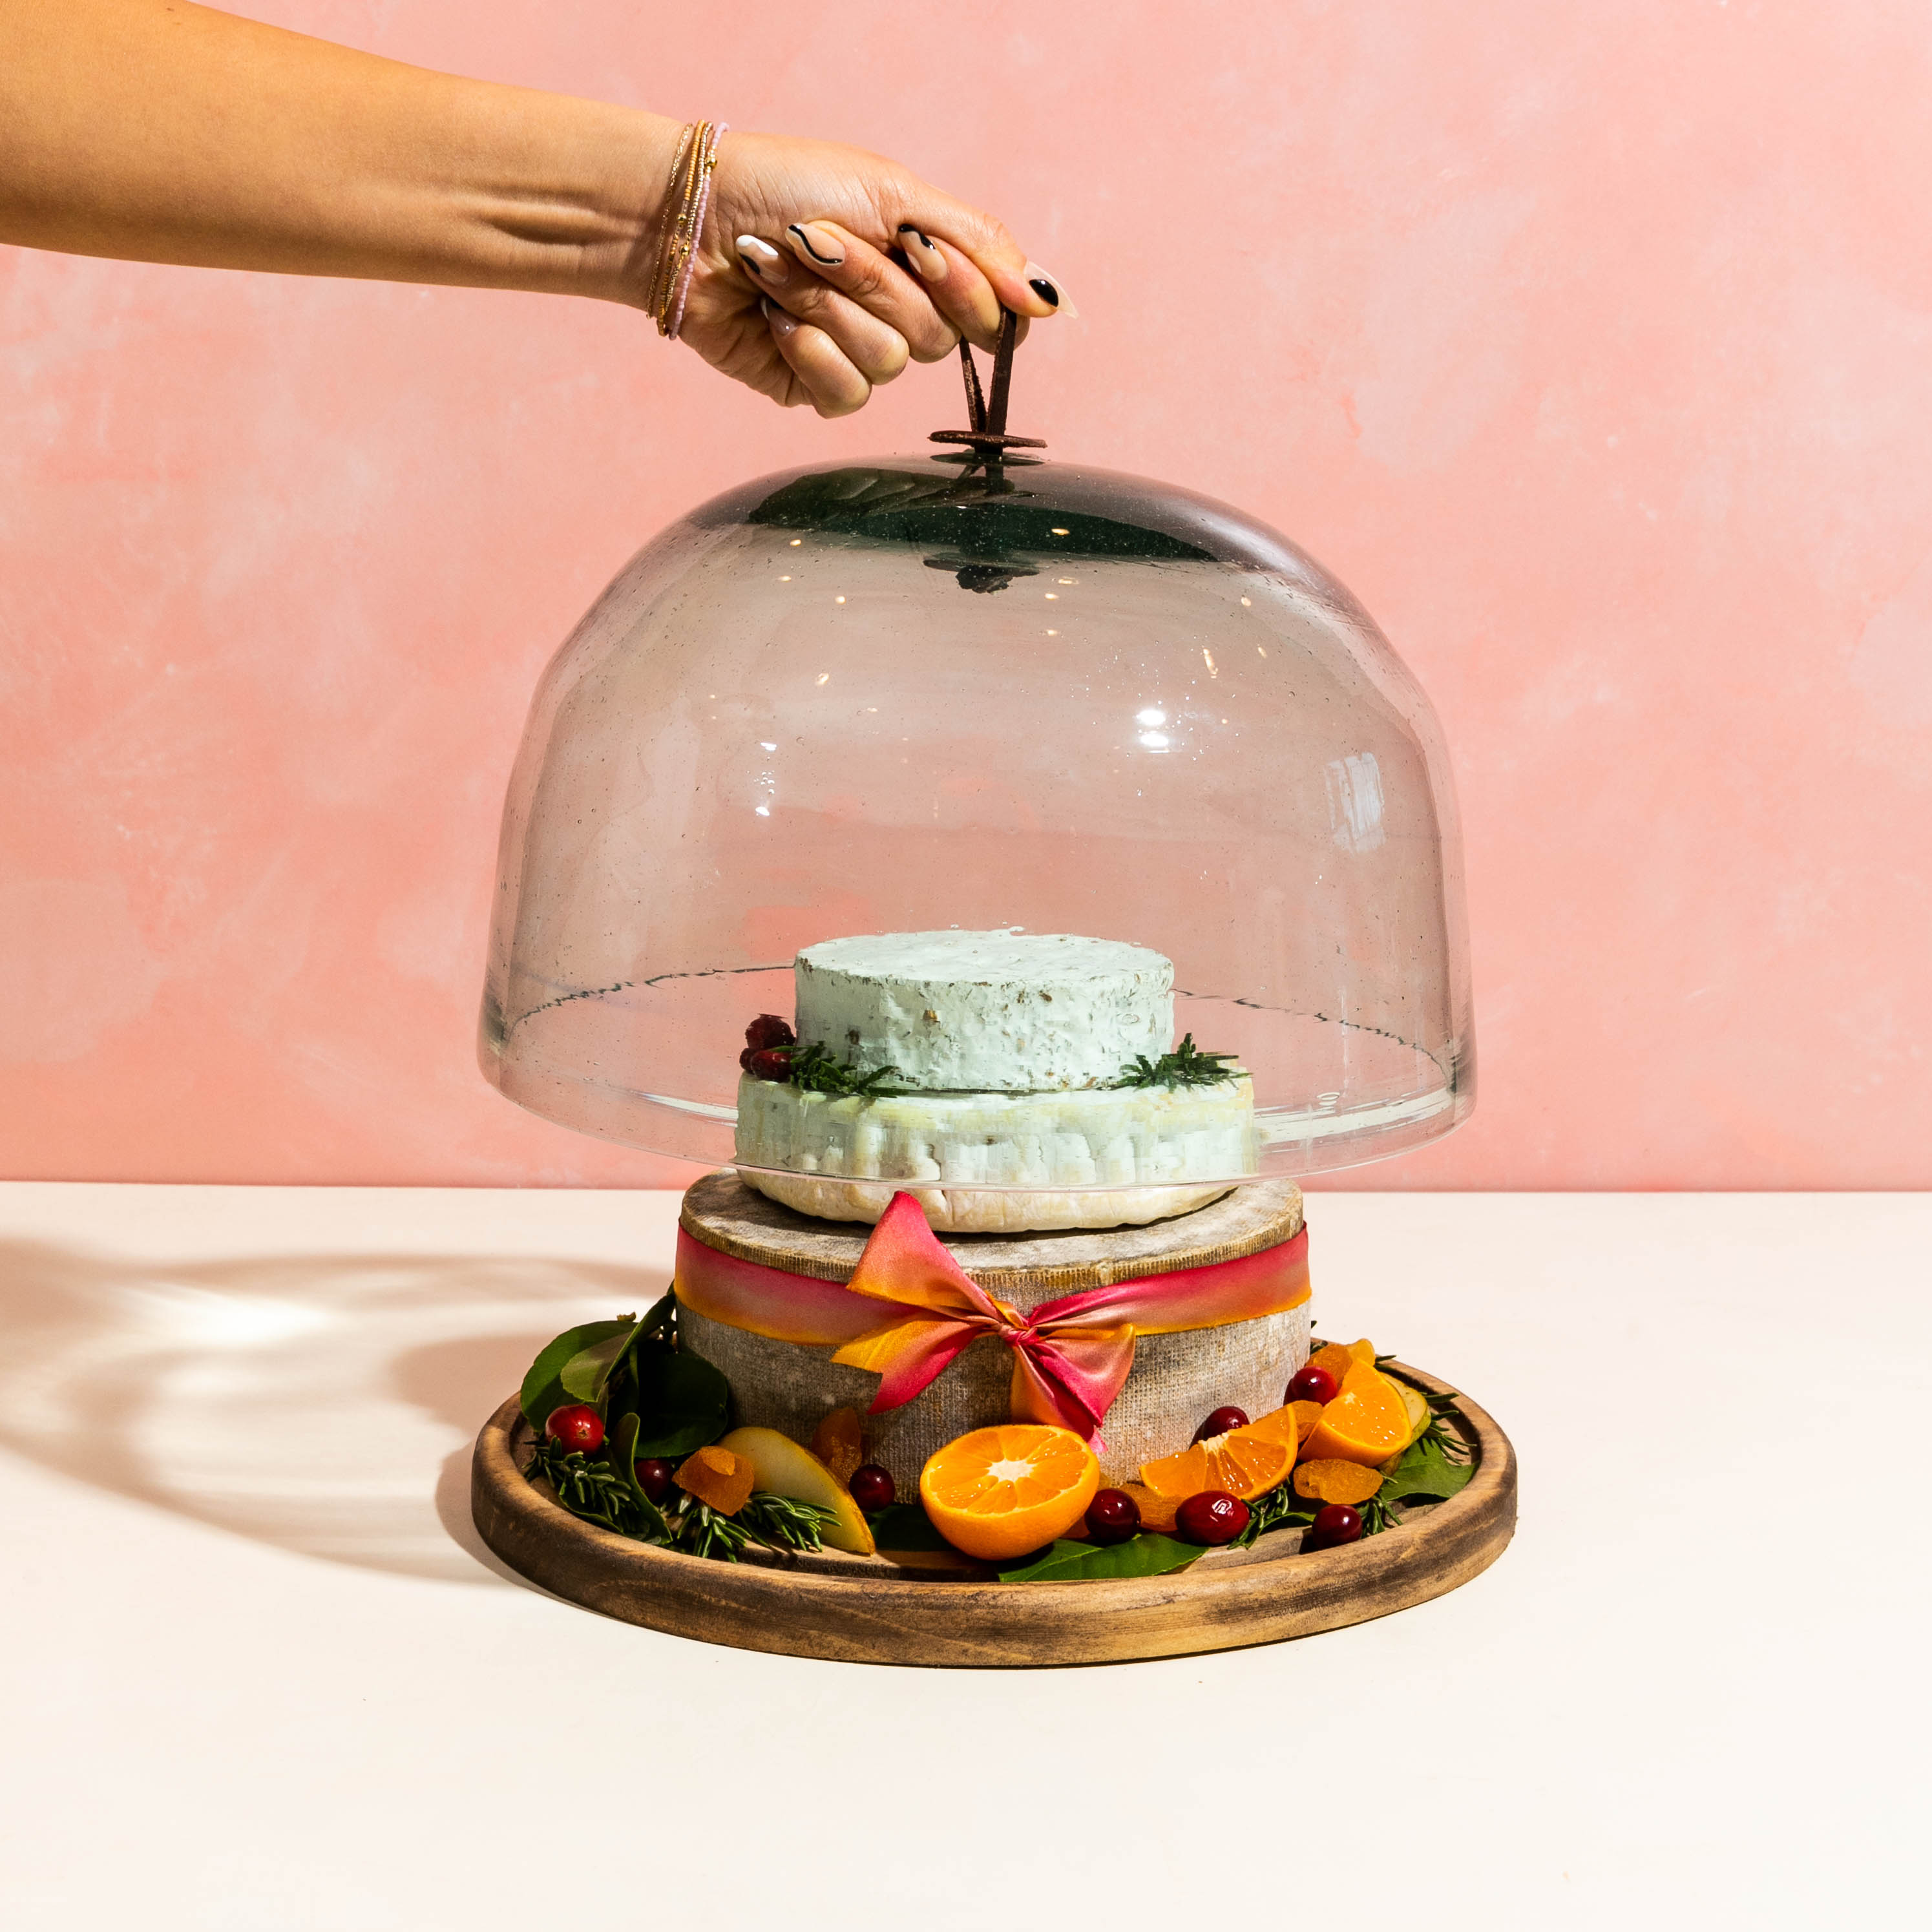
To make your cheese “cake” tiered, choose a second cheese that is two to four inches smaller than the one below it. So if the base is six inches, do four for the second, and two for the top. It doesn’t have to be perfect, but you want each layer to be distinct. A three-layer “cake” should be able to serve at least eight to 12 people. For the photo above, we did more of a large format version with a large Cowgirl Creamery Hop Along wheel (cow’s milk, cider-aged, and semi-firm) as the base, Jasper Hill Farm Moses Sleeper (cow’s milk, bloomy rind, and creamy interior) as the middle layer, and Murray’s Cave-Aged Reserve Hudson Flower (sheep’s milk cheese coated in rosemary, lemon thyme, chervil, and hop flowers), which could serve closer to 20–25 people.
3. Mix up your styles of cheese
Just like you’d pick different types of cheese on a board, choose varying flavors and textures for your layers. Mari suggests using cheeses made of different types of milks: one goat, one sheep, and one cow. You can also use harder and softer cheeses, such a cheddar and a brie, to contrast textures, and mix up your shapes—like a square, rectangular, or pyramid-shaped cheese—instead of just circular wheels.
4. Keep cheese wrapped until you stack
Remove the cheese from the fridge and let it sit at room temperature, still wrapped, for at least an hour before serving. This will keep it drier by preventing condensation (aka sweaty cheese) so you can stack it nicely on a large plate, platter, or the base of a cake stand (like our Show-Off Glass Serving Dome).
5. Accent your “cake” with food—but don’t overwhelm it
Use accoutrements like fruit (such as figs, citrus, berries, apples, and pears), nuts, edible flowers, and herbs sparingly to decorate the base of the cake and a little bit between the layers. Put charcuterie, crackers, fruit, and spreads on a plate or platter on the side of the “cake” so it doesn’t get too cluttered or messy and the “cake” can be the star of the show.
6. Tie things together with a simple ribbon
A non-edible accent idea is a ribbon. Go for a one- or one-and-a-half-inch ribbon wrapped around one of the widest layers, or whichever rind you don't mind hiding the most. Mari suggests a cheese with a beautiful exterior should be left to shine on its own, such as the Hudson Flower pictured on our top layer. You can also use thinner twine for a more rustic look.
7. Take lots of photos...then deconstruct to serve
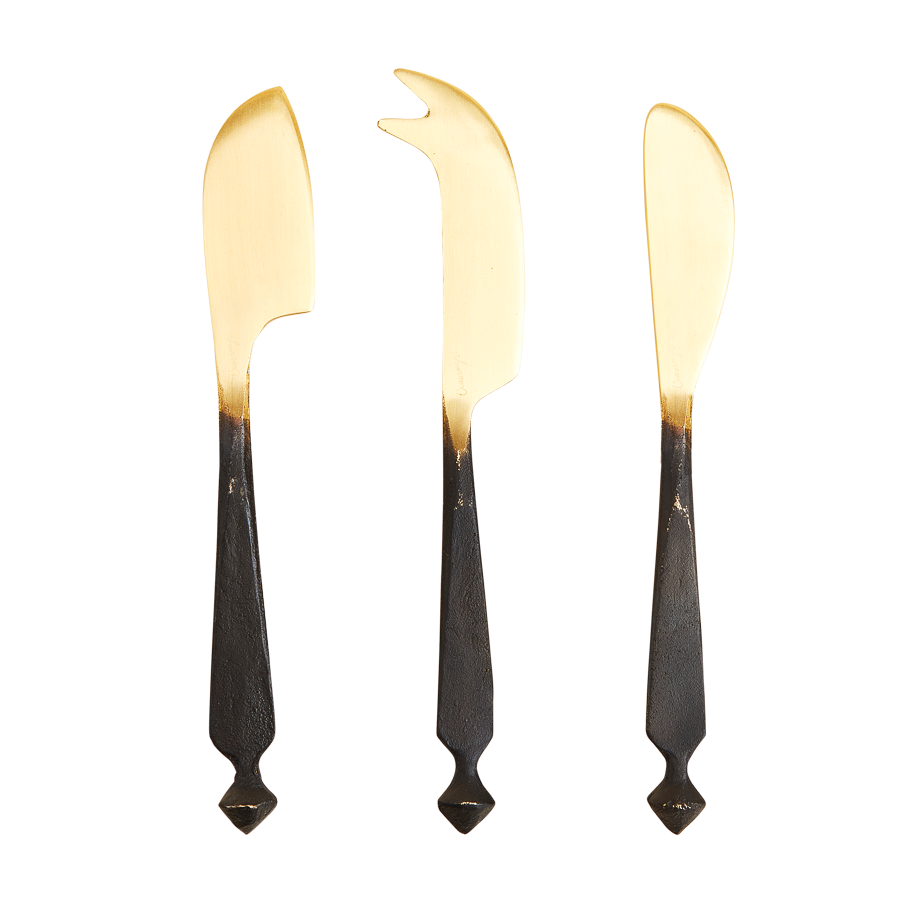
As sad as it is to destroy something so beautiful, the easiest way to serve is by taking each cheese off the “cake” and cutting it separately. You can cut out a wedge—using our new Show-Off Cheese Knives or a small utility knife—to show off part of the interior for a photo op, but with different sizes and weights of the cheeses, it can be difficult to have guests cut as they go at a party. So Mari instructs to remove each layer and cut on a cutting board, using a sharp chef’s knife for firmer wheels and a cheese wire (or unflavored floss in a pinch) to cut soft cheeses like brie or camembert smoothly. Plate all of it up on a separate platter and let the best part of the night begin: eating. Cheese the day!