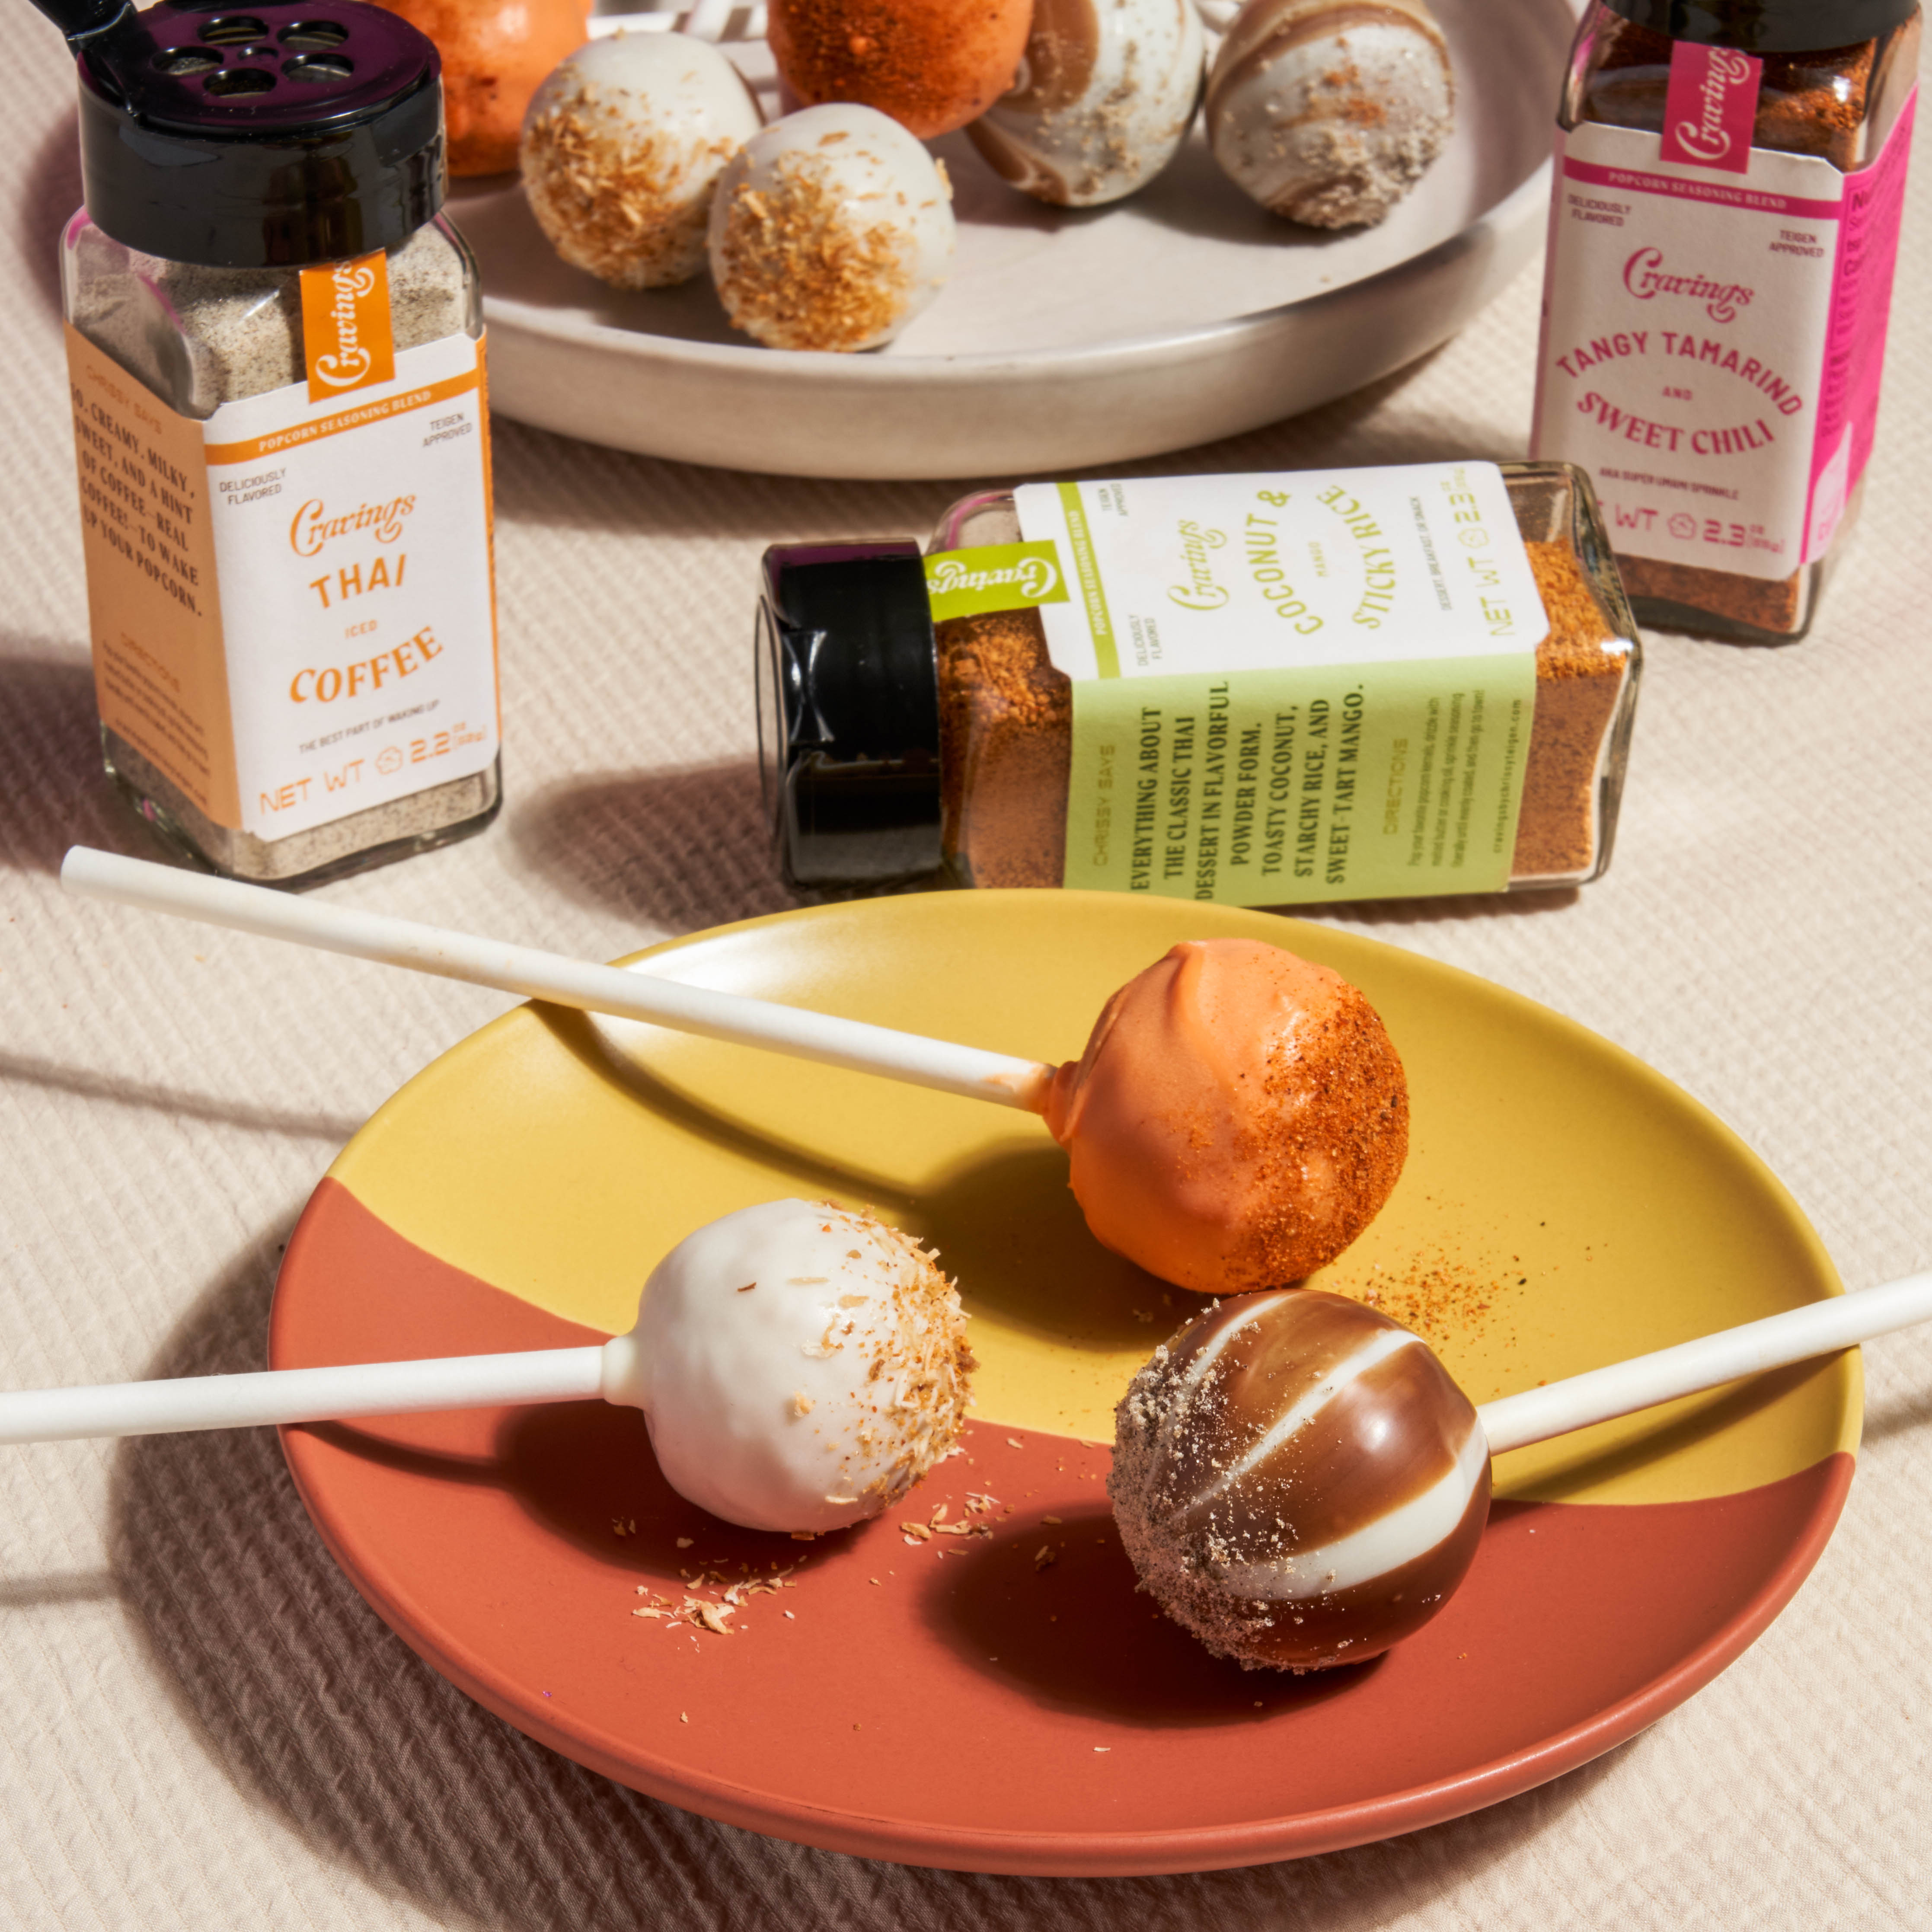
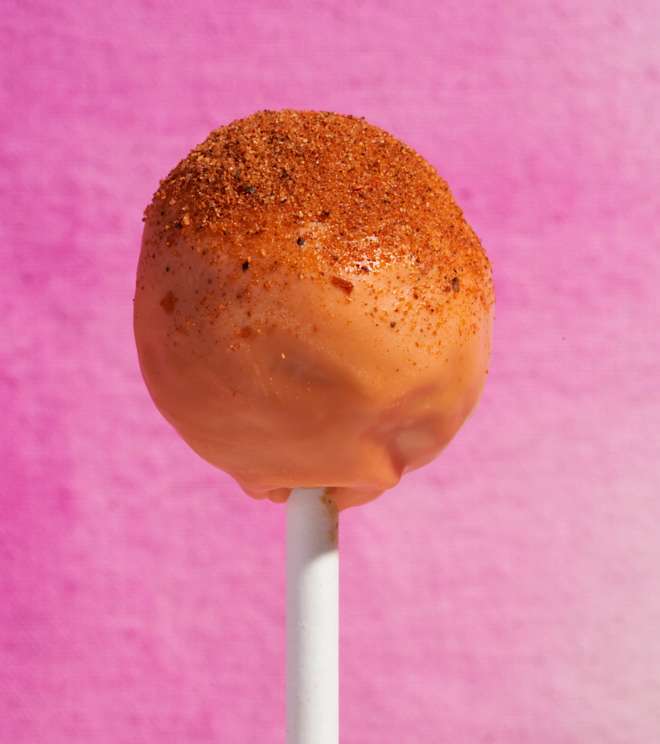
If you’ve only had cake pops in an impulsive moment at a coffee shop, we have news for you: They’re not that hard to make at home! All you need is a box of cake mix, frosting, sticks, and a few extra ingredients to make bakery-worthy treats in your own kitchen. We put a few twists on the typical cake pop flavors using seasonings from our new Sweet Thai Popcorn Trio, inspired by Chrissy and Pepper’s favorite Thai treats: Coconut & Mango Sticky Rice, Thai Iced Coffee, and sweet-and-salty (and a little sour and spicy) Tangy Tamarind and Sweet Chili.
Whether this is your first time making cake pops or you’re just a little rusty, we have six key tips and hacks to follow when baking, crumbling, shaping, and decorating for your next birthday celebration, dinner party, or random Tuesday night craving.
Let's Get Ready to Crumble
We swear by boxed cake mix for cake pops, because there's no need to fuss with a homemade cake when you’re just crumbling it up. When the cake comes out of the oven, let it cool for a few minutes, then carefully scoop it into the bowl of a stand mixer, if you have one. Using the paddle attachment, you can crumble the hot cake quickly so that it actually sticks to itself BEFORE you add the frosting! You can also do this in a food processor or try it with a hand mixer, though it may get stuck in the more whisk-like beaters.
2. Don’t Skip the Freeze
Cake pops are relatively simple, but require some patience. The first exercise in patience is waiting for the cake pops to chill after you’ve dipped the sticks in chocolate and pressed them into the center of the cake ball. Putting them in the freezer will help everything firm up so you don’t lose a pop while adding the coating. You should only need 10 minutes, so use that time to make yourself a cup of coffee, take a quick stroll, or scroll Instagram.
3. Keep Things Running Smoothly
Once you make your coating—using candy melts, which melt more uniformly, or real chocolate, which you can use to really customize your favorite style and level of richness—make sure to pop it in the microwave to re-warm if it starts to solidify! You want the dipping process to go smoothly. An extra helper is to add a little vegetable oil to thin the mixture, which will also make the pops glossier.
4. Make an Emergency Cake Pop Stash
All of these recipes make plenty of cake pops to feed a crowd...or future you! Make a big batch (between 32 and 46 bite-sized delights) and freeze the naked cake pops flat on a plate or sheet pan—before adding sticks or dipping. Once they're frozen solid, for a few hours or overnight, transfer to a freezer-safe container or zip-top freezer bag with as much air squeezed out of it as possible and store for up to four months!
5. Craft a DIY Cake Pop Resting Station/Display

In order to make sure your cake pops don’t get smushed as the chocolate hardens on the outside, you need to keep them upright. Our favorite way is to turn over a cardboard egg carton and cut little holes in the middle of each section using a paring knife or scissors. Then you can stand up the sticks in each section and let the whole thing set in the fridge. You can even decorate it as a display if you’re having people over. If you don’t mind hitting the craft store, a block of styrofoam or flower foam also works.
6. Have Fun Decorating!
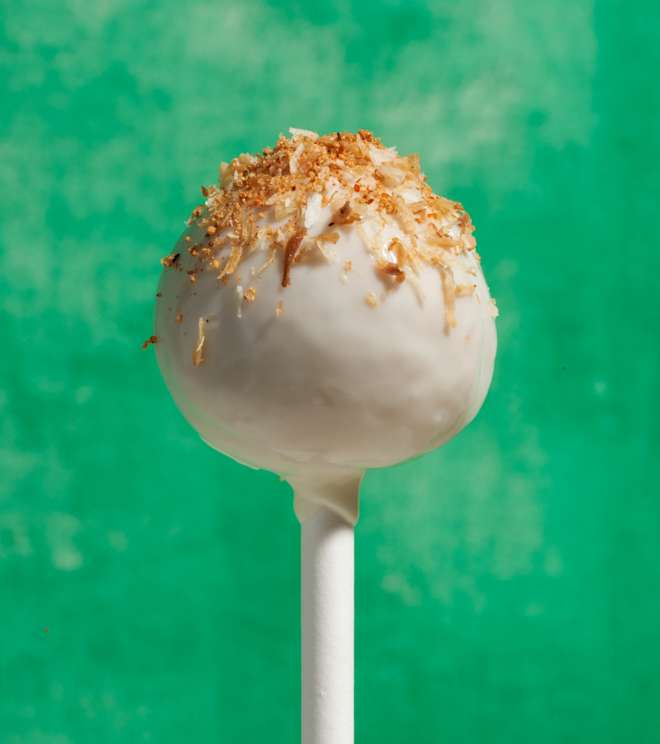
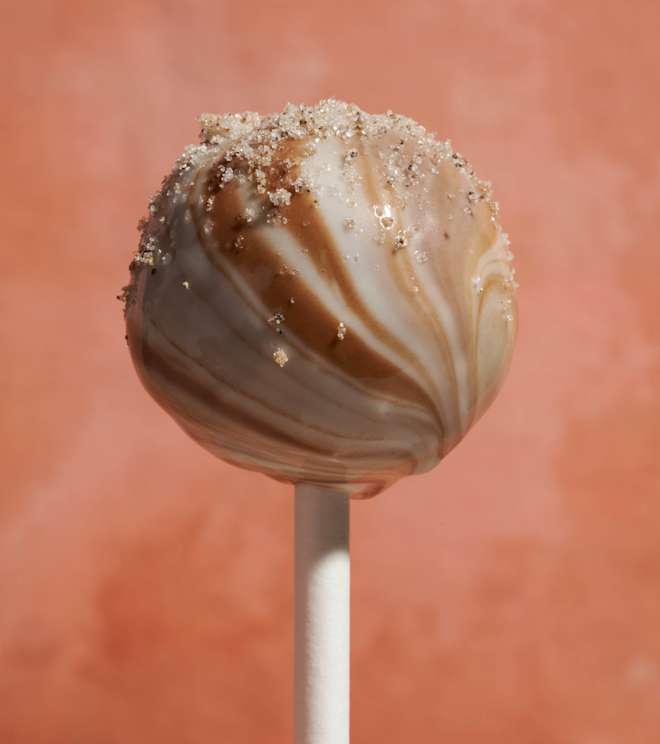
For our three new cake pop recipes, we just used a sprinkle of the spices, marbled chocolate, and some toasted coconut to decorate, but you should have fun with the decorating. Try using different colored candy melts, food coloring, sprinkles, nuts, and more to make them as festive and creative as you’d like.


