There are few meals more rewarding and impressive than a whole roast chicken. Many people save it for a special occasion, like dinner parties (remember those?) and holidays, but we’re here to prove to you that it can be part of your weekly dinner lineup, easily! Figuring out how to roast a chicken perfectly doesn’t have to be complicated and daunting—it just comes down to three things: time, temperature, and seasoning.
To take some of the guesswork out, the new Cravings Winner Winner, Chicken Dinner spice kit has everything to make you a roast chicken pro in no time. There’s a garlicky onion seasoning for compound butter or infused oil to season the chicken inside and out; balsamic roasted onion and honey-lemon-thyme seasonings for roasted vegetables; tomato-basil seasoning for a pizza vibes salad dressing for serving on the side; and even a pack of herby leek rice. Whether you’re using the kit or not, if you follow the tips below we guarantee you’ll have a perfect winner, winner, chicken dinner every time, anytime—not just special occasions.
1. Make sure to pat your chicken dry first!
Repeat after us: moisture is the enemy of crispy skin. In order to get that golden, crunchy exterior, first pat it completely dry with some paper towels. Then, rub some butter or oil (ideally seasoned!) generously all over the bird, getting in all the nooks and crannies so it browns evenly.
2. Season, season, season!
Chicken, on its own, is bland. Simple salt and pepper works wonders, but a spice mix will bump up the flavor immensely. For guaranteed flavorful meat, you can go the extra mile by inserting your fingers between the chicken skin and the breast to loosen the skin around the meat. Slip half the butter mixture underneath the skin, trying really hard not to rip the skin, and you’ll be rewarded with chicken that basically bastes itself as the butter melts. You can also stuff the cavity of the chicken with lemon, garlic cloves, onion, and fresh herbs.

3. Baste if you want (but it won’t be ruined if you don’t)
In a perfect world, you’d baste the chicken every 15 minutes with the juices at the bottom of the pan. But you might forget, and that’s okay. Basting helps add moisture back to the bird as it cooks, and since there is some fat that renders, it even helps the skin get crispy in spite of liquid touching it. So if you can babysit your chicken, baste away! If you can’t, it will still be delicious. Just roast at 375°F until the skin is golden brown, it registers 165°F on an instant-read thermometer, and the juices run clear (about 1 hour, 30 minutes).
4. Always pair it with roasted vegetables
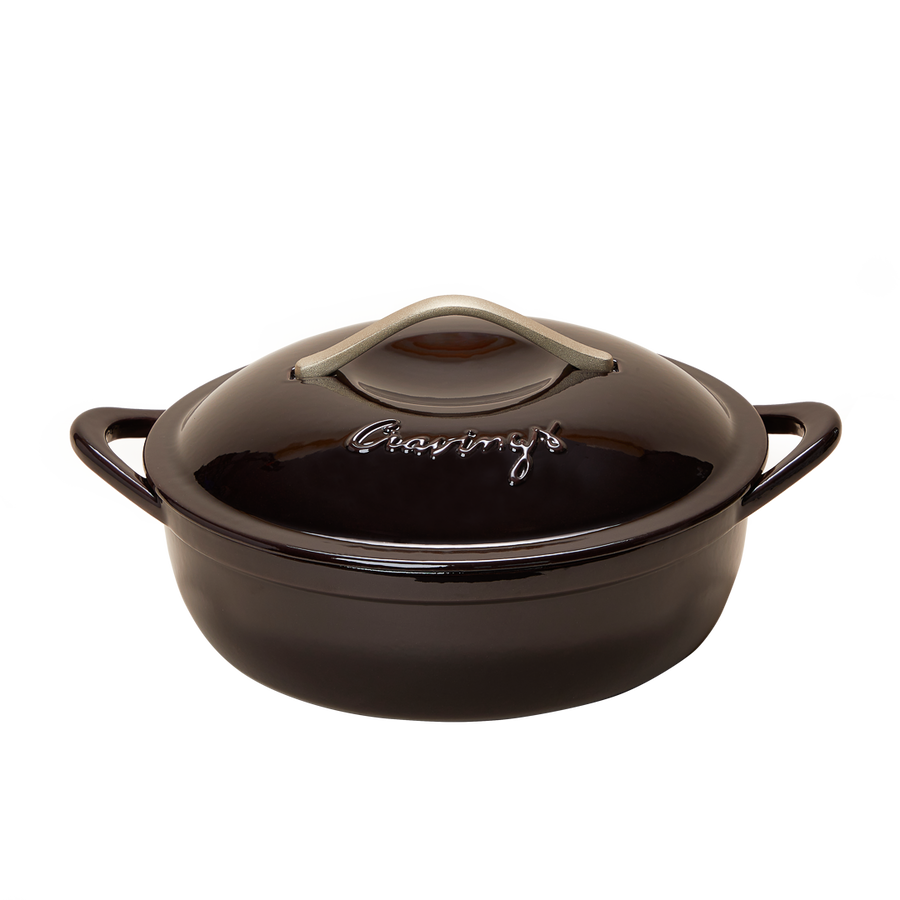
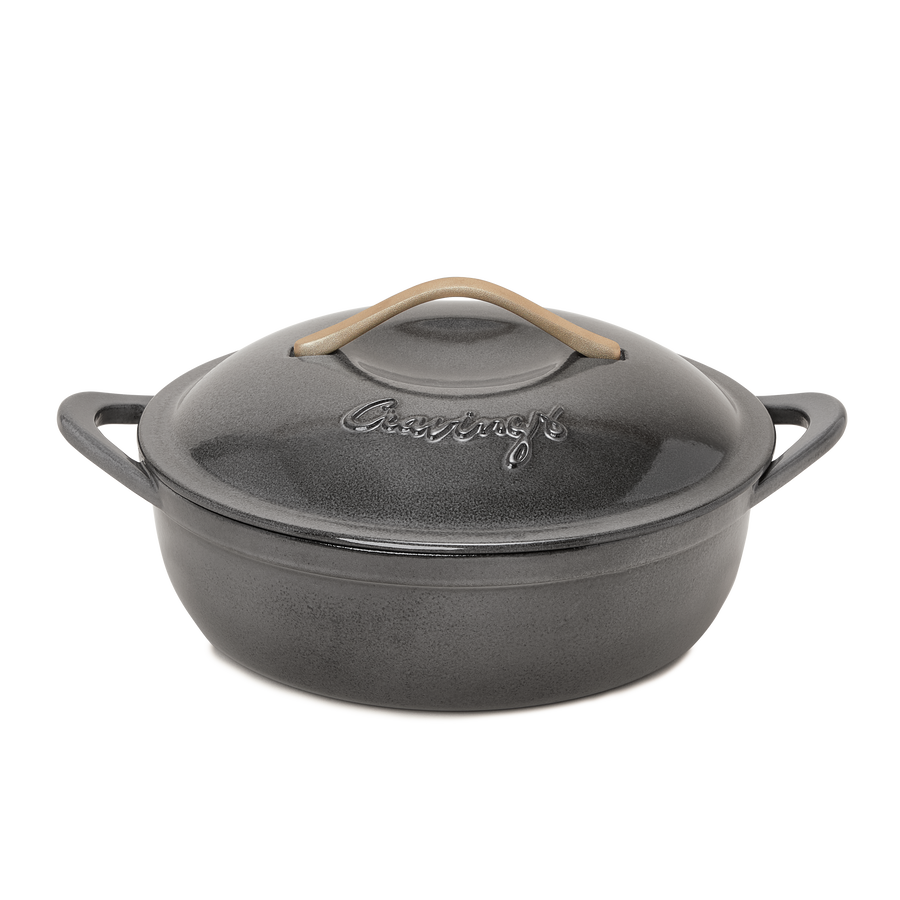
It doesn’t take much effort to add roasted vegetables to the bottom of your roasting pan or braiser so they can cook at the same time as your chicken. We love root vegetables (such as carrots, sweet potatoes, or parsnips) with honey lemon thyme seasoning to bring out their natural sweetness, or balsamic roasted onion for green vegetables like Brussels sprouts, green beans, or asparagus! You can also roast them separately on a sheet pan if you want to make sure they get ultra crispy for the last 20–25 minutes of the chicken cooking.
5. Let that bird rest!
The last and most important step in how to roast a chicken is what happens after it comes out of the oven. Let it rest on a cutting board tented with foil for 10–15 minutes so the juices can redistribute into the meat and not run all over the board when you carve it. And then comes the best moment: time to eat!


