

Thanksgiving may be looking a little different this year, but one thing remains the same: Preparing a big meal like this is stress level 💯. But it doesn’t have to be that way! Cravings is here with our inaugural Tipsgiving: A week of tips, tricks, fixes, and hacks to make Thanksgiving easier. Whether that’s a foolproof way to guarantee crispy turkey skin and juicy meat, a guide to what side dishes you can actually make in advance, or a way to make your store-bought pie crust look waaay fancier, we’ve got you. To kick it off, here’s our guide to mastering turkey and gravy.
1. How to Defrost Your Turkey
(aka Here’s Your Reminder to Move Your Turkey From Freezer to Fridge!)
First off, remember to clear space in the fridge for your turkey to thaw! The weight and size of your bird will indicate how long it needs to defrost—you’ll need 24 hours for every 4–5 lbs. of turkey. Since we can’t be there to ring an alarm to remind you to defrost your turkey ahead of time, memorize this chart… or make it the background of your phone until Thanksgiving.

2. The Foolproof, No-Fuss One-Way Ticket to Juicy Turkey: Dry Brining
Maybe you’ve heard of brining, which is soaking turkey in a salt-water mixture to pump flavor and moisture into your bird. It’s effective, but is messy because it needs to be thoroughly rinsed and dried after. Instead of that, try dry-brining, a fancy way of describing pre-salting your turkey that guarantees crispy skin and super tender, juicy meat.
To dry-brine, simply rub salt and any herbs or seasoning directly onto the turkey and let it sit uncovered in the fridge for 2–3 days prior to cooking. (A good salt-to-turkey ratio is 1 tablespoon of Diamond Crystal kosher salt per every 5 pounds of turkey. We recommend Diamond Crystal because Morton's salt is saltier.) During that time, the salt draws out the meat’s natural juices, mixes with the salt, and reabsorbs into the meat to flavor it from the outside in, helping break down tough muscle proteins in the process. And why uncovered? The air circulating in the fridge helps dry out the skin to ensure it gets crispy in the oven!
Extra Brining Tips:
-
Always thaw your bird before preparing a brine! It’s harder for the brine to get into frozen meat.
-
The larger the bird, the longer you should let the brine work its magic.
-
But avoid over-brining (no more than three days!), as this will extract juice from the meat itself and dry out the bird.
-
Do not rinse or rub off the brine before popping your bird into the oven. This will get the skin suuuper crispy, we promise it won’t be too salty!
3. How to Make a Turkey With the Crrrrispiest Skin Ever
Dry brining is the first step to crispy skin, with the air circulation in the fridge drying it out. Moisture is the enemy of crispy skin! So pat the skin dry before it goes into the oven, no matter how you’ve seasoned it. For extra crispy skin, there are two more steps. First, give it a rub down with melted butter or oil to help encourage immediate browning. Then crank your oven to 425°F and let the skin completely brown for the first 20 minutes. Turn the temp down after to 325°F and cook for approximately 15 minutes per pound of turkey, or until it reads 165°F with an instant-read thermometer in the thickest part of the thigh. If the turkey looks like it’s getting too brown, tent the breasts with foil to keep it from drying out.
4. Oops! How to Fix an Overcooked or Undercooked Turkey
How you cook a turkey is just as important as how you season it. Guarantee your turkey is always properly cooked by investing in an instant read thermometer to know exactly when the turkey registers 165°F in the thickest part of the thigh. (Or use a leave-in, probe-style thermometer that can monitor the turkey the entire time it is in the oven.) Any higher and turkey can dry out, and any lower, it can be unsafe to eat. If you mess up and have an overcooked or undercooked turkey, we have solutions to help salvage it!
How to Fix an Overcooked Turkey
-
Coat (don’t submerge!) the meat in broth or gravy to help moisten.
-
Serve the dark meat first. Since dark meat isn't as exposed to heat as white meat, it takes longer to cook and won’t end up as overcooked.
-
Drizzle melted butter or olive oil over the turkey to help replenish the lost fat in the meat.
How to Fix an Undercooked Turkey
-
If the turkey is not registering the proper temperature or the meat looks pink and rubbery and you've already started carving, just keep cutting! You can carve the bird into individual pieces (thighs, drumsticks, breast, wings), cover each piece with foil, and return to the oven at 325°F. Make sure to check the turkey every 10 minutes to avoid overcooking.
-
Baste the whole turkey in butter, cover it, and return it to the oven. This will add both fat and moisture back to the turkey as it finishes cooking.
-
You can also reheat your turkey like Chrissy does: smothered in gravy! If you’ve already started carving, you could apply this technique, cover it, and reheat in the oven.
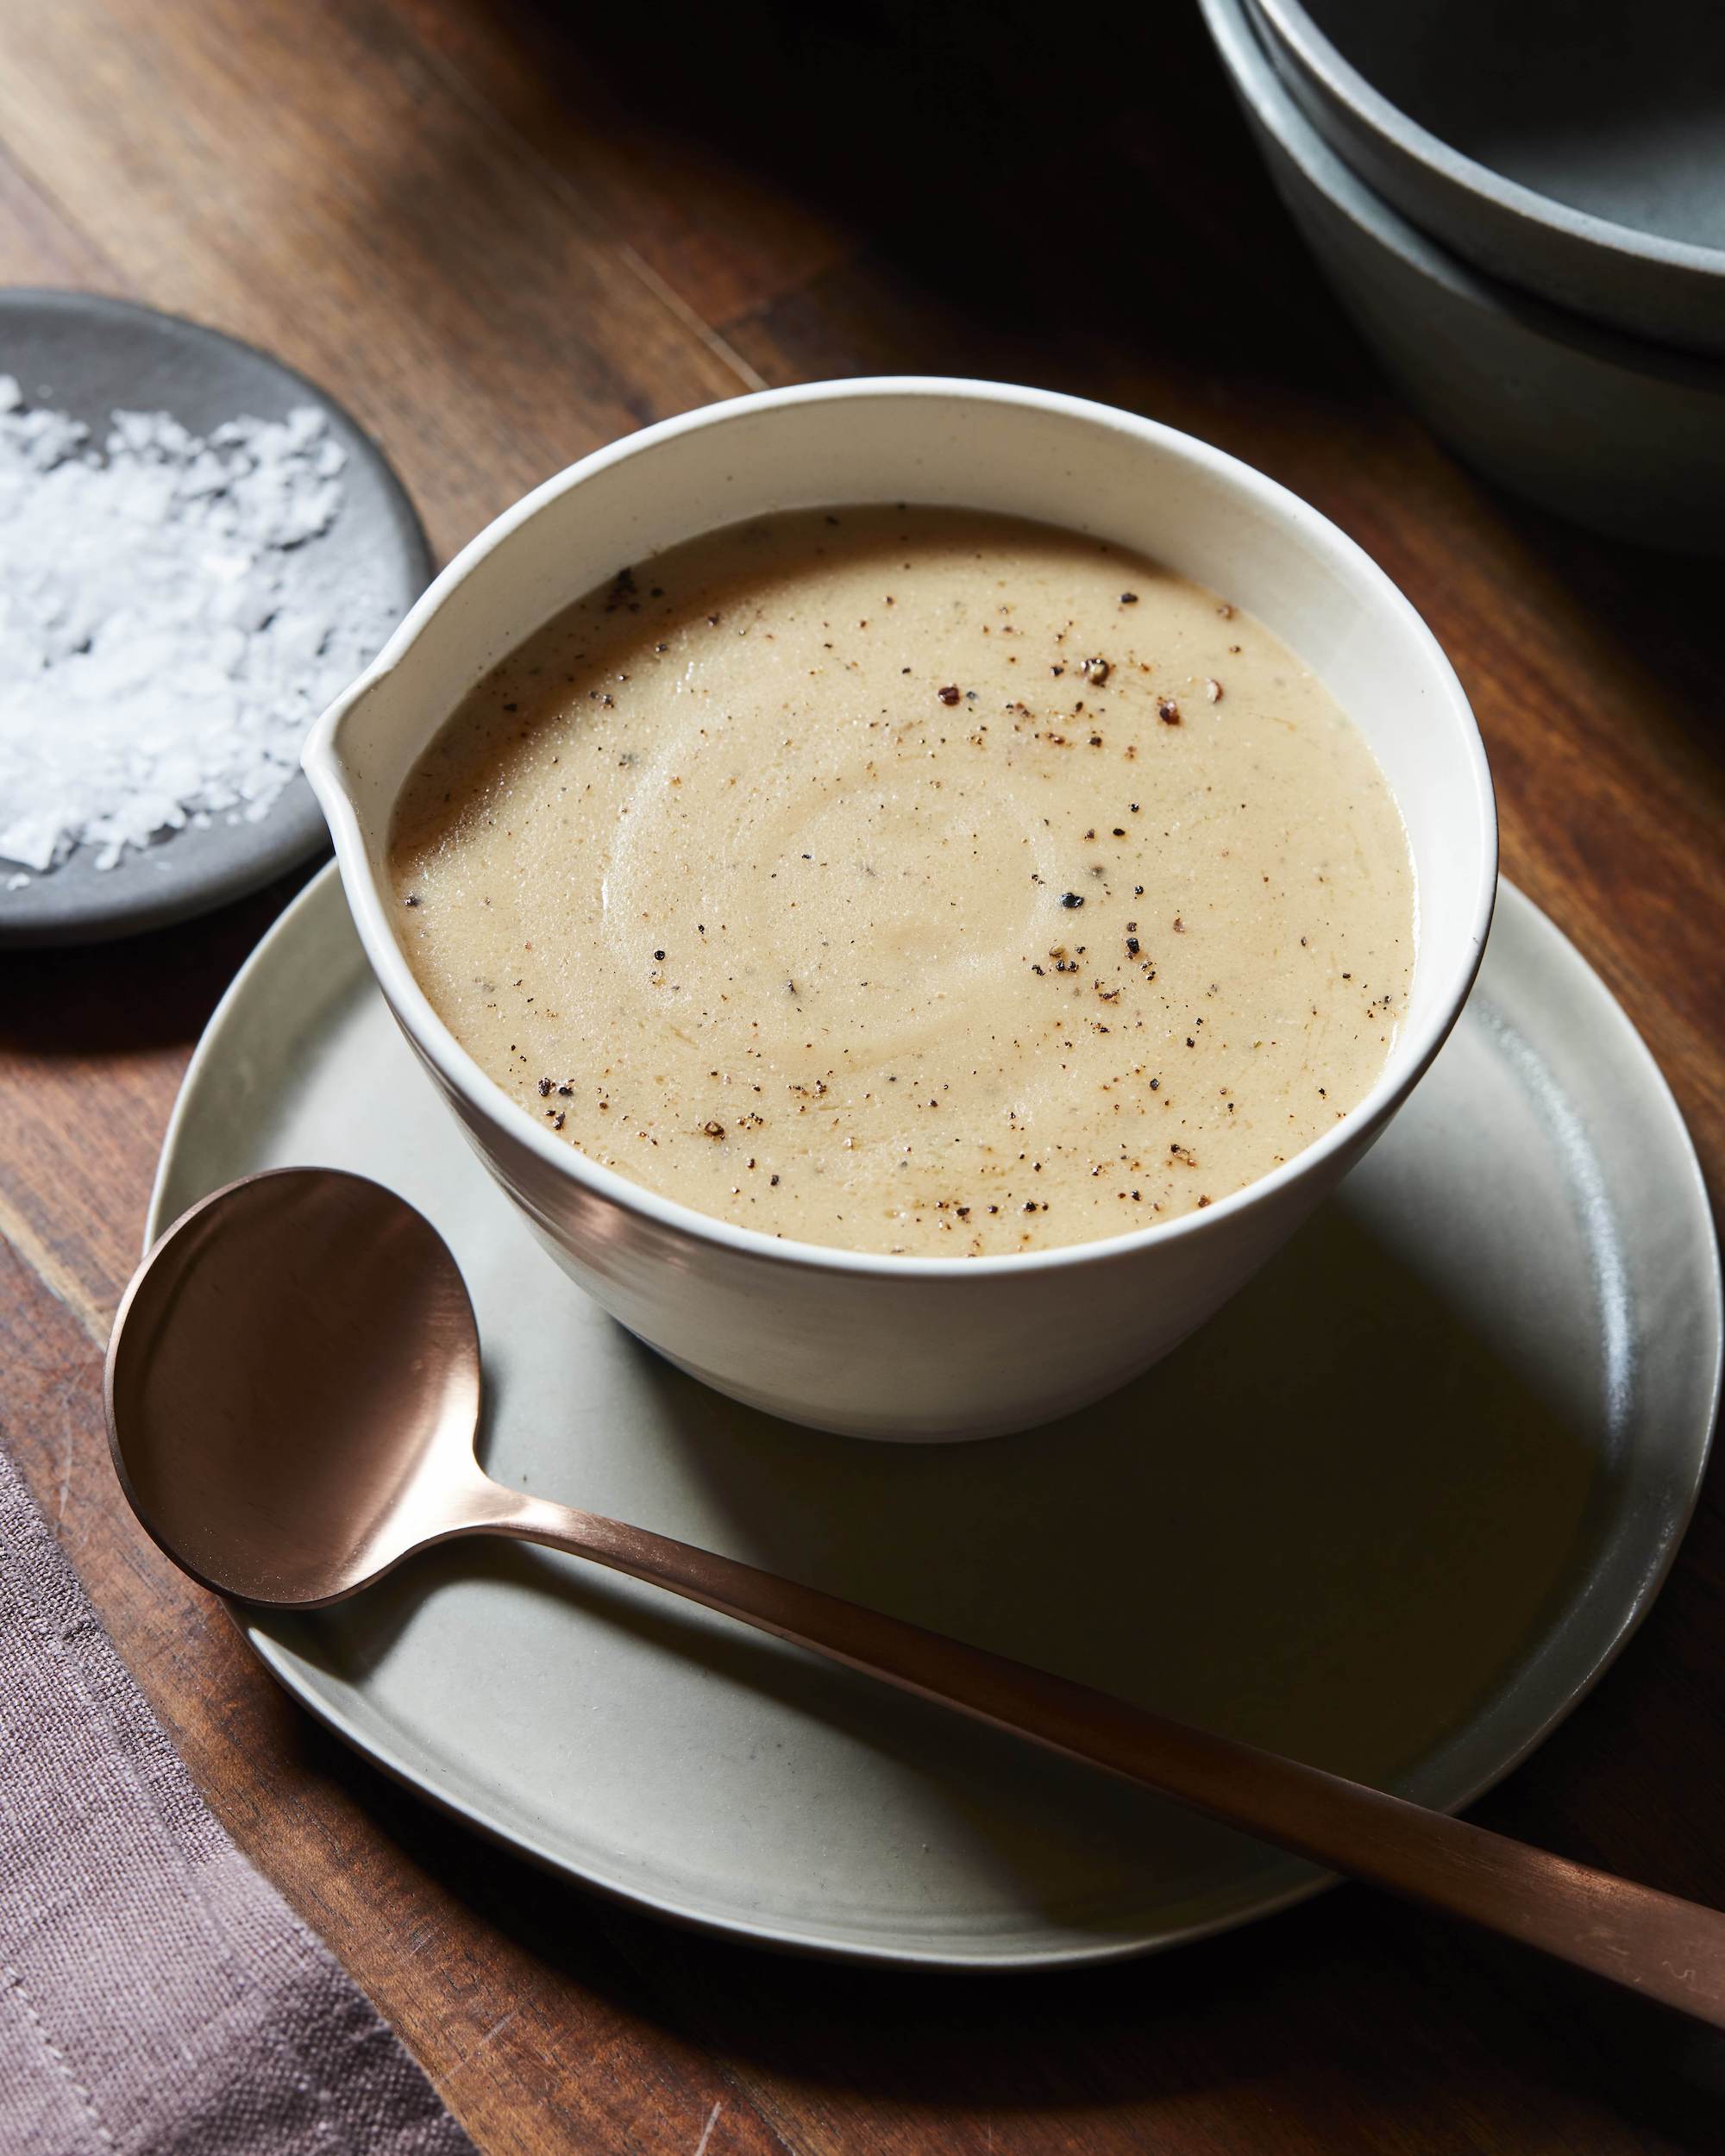
5. When It’s Not All Gravy, Baby: How to Fix Common Gravy Mistakes
Now that you’ve mastered the turkey, its partner in crime, gravy, is just as important to perfect. Using the drippings from the turkey for a big boat of gravy is one of life’s greatest pleasures, but what happens if it gets messed up? Or you run out? Don’t worry—we’ve got you.
How to Fix Broken Gravy
If you find that your gravy is breaking, don’t panic. That just means the starch (flour), fat (butter), and liquids (milk) have separated. To fix breakage, try whisking in some more liquid slowly until the desired consistency is achieved. You can use more stock or even potato water from boiling potatoes (starchy!) to help bring back together!
If Your Gravy Is Too Thin
If it looks more like broth than luscious gravy, you can fix it easily. Just combine 1 tablespoon of cornstarch or 2 tablespoons of flour with a little bit of cold water for every cup of gravy that needs thickening. This creates a slurry that can be whisked in, a little bit at a time. Bring it to a boil and it should thicken in front of your eyes. If it’s still not thick enough, just repeat the process. PSA: Don’t add cornstarch or flour directly to hot liquid or it can clump!
If You Run Out of Gravy
Thanksgiving isn’t ruined if you run out of gravy—Pepper is here to save the day with her easy and delicious Cheat’n Gravy recipe for when you’re in a pinch. You can also melt 2 tablespoons of butter in a saucepan, whisk in 2 tablespoons of flour, and cook for a minute or two until the raw flour flavor cooks out. Add 2 cups chicken or turkey broth or stock, bring to a boil, and season to taste with salt, pepper, and a splash of soy sauce, and you’ve got yourself a quick gravy. That recipe also scales up easily—just use the same number for tablespoons of flour, butter, and cups of stock.