If you live in fear of oil splatters and super hot pans but love fried chicken, we’ve got you. Deep-frying at home can be intimidating and scary, but it doesn’t have to be! It just takes following a few key steps, like choosing the right oil so you don’t smoke out your kitchen, making sure that oil is actually hot enough to get that perfect sizzle, and using the right tools. If you are beginning your frying journey, we’re here to walk you through every step of the process, with key tips and answers to your most burning questions. (Including keeping you from actually burning yourself.)
HOW TO CHOOSE THE RIGHT OIL FOR FRYING
You’ve probably heard the term “neutral oil,” but what does that mean? First off, it has a neutral flavor, meaning everything you cook in it will taste like what it’s supposed to. (Olive oil, for instance, has a strong olive flavor.) Most neutral oils have a higher smoke point, aka when oil starts to smoke and its fats break down, burning whatever is inside and making it taste bitter. Canola, peanut, and sunflower are easy to find and have high smoke points of 400°F–450°F, but safflower oil technically has the highest smoke point of 510°F.
HOW TO TEST YOUR OIL’S TEMPERATURE
Using a thermometer—whether a candy or deep-fry thermometer that you can leave in your pot or an instant-read thermometer—is the most accurate way to check the temp, but you can also use food. Take a cube of bread or a panko breadcrumb and throw it into the heated oil—if it sizzles and turns golden on contact, you’re good to go. If it absorbs the oil and remains pale in color, heat it more. If it darkens drastically and begins to burn, turn off the heat and let the oil cool down before adding any food!
THE IDEAL FRYING TEMPERATURES
If you plan to shallow-fry, you want the temperature to be in the 350°F–355°F range. For deep-frying, it’s super important that the oil stays hot—365°F–370°F is the sweet spot. (More on these techniques below!)
THE DIFFERENCE BETWEEN SHALLOW-FRYING AND DEEP-FRYING
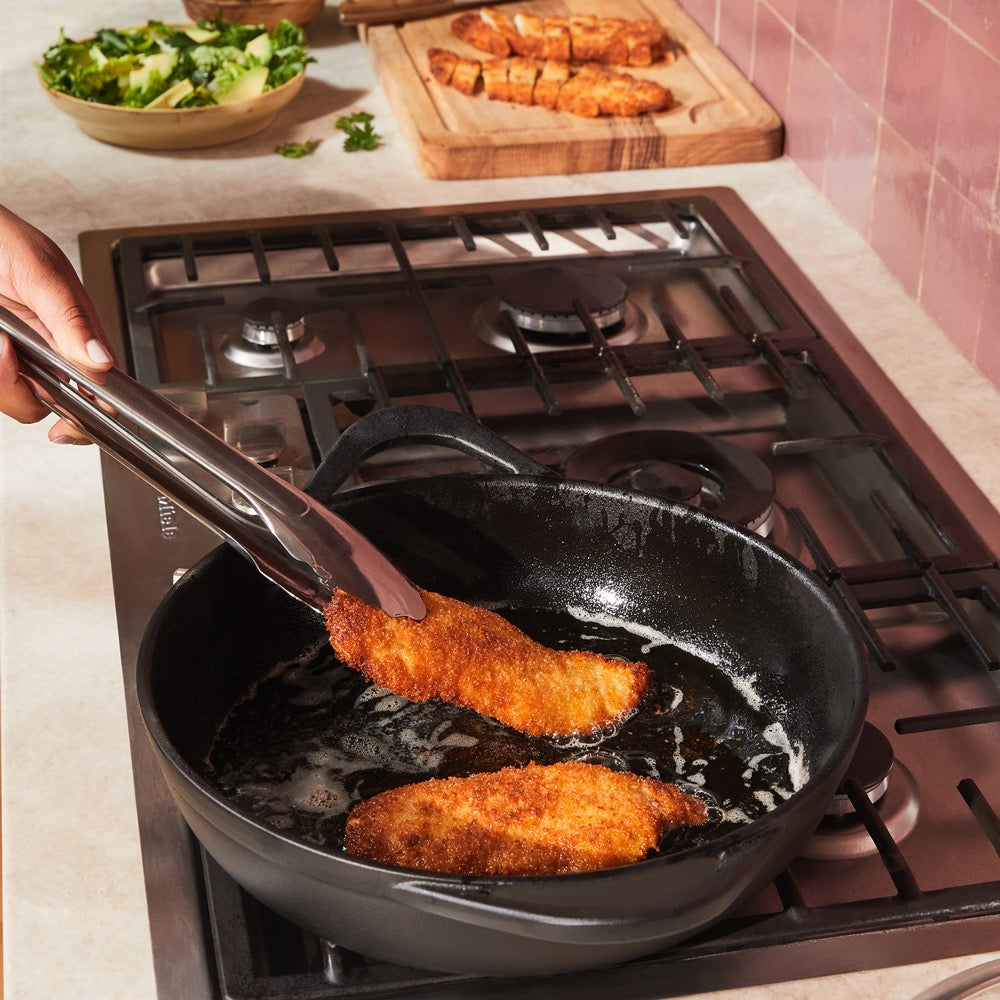
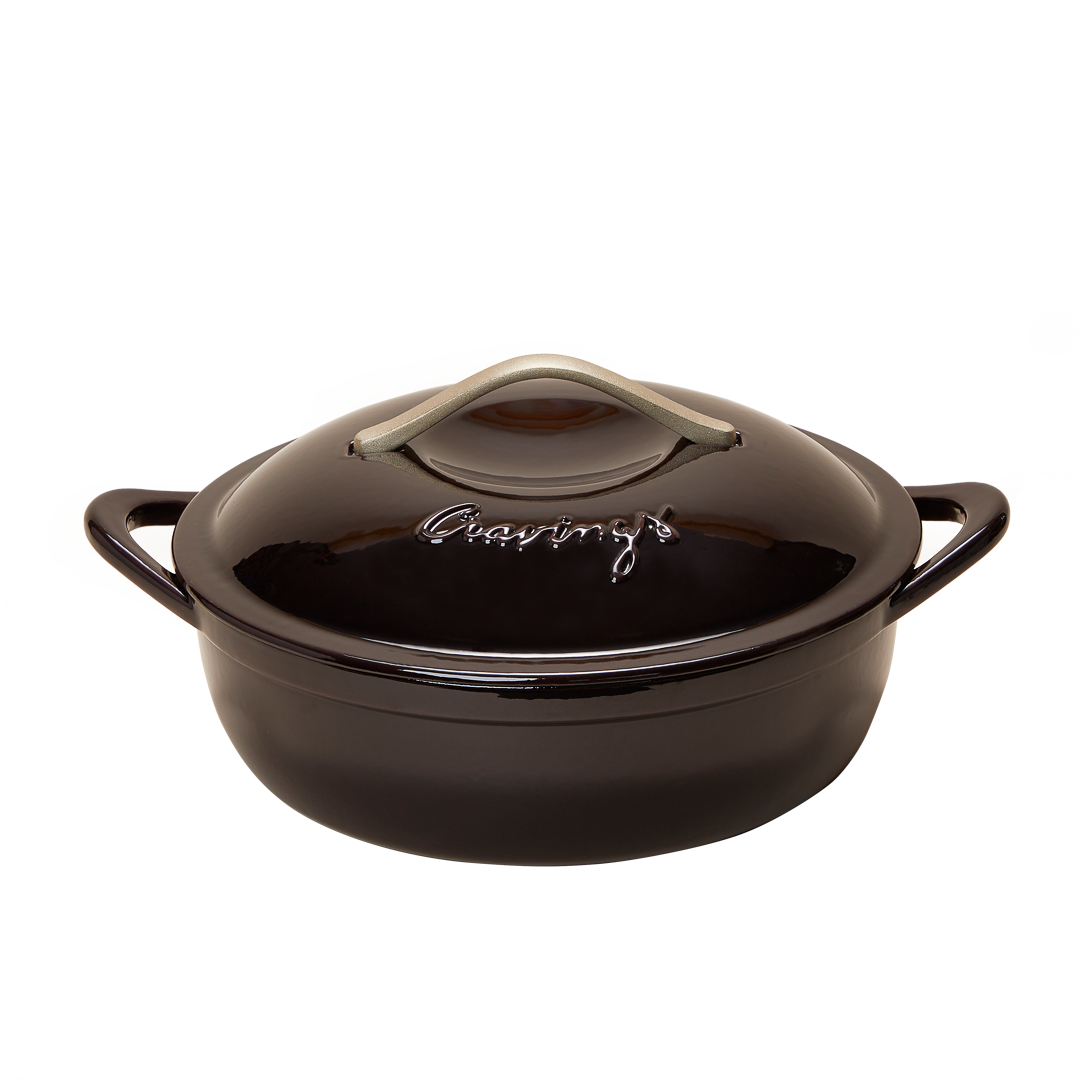
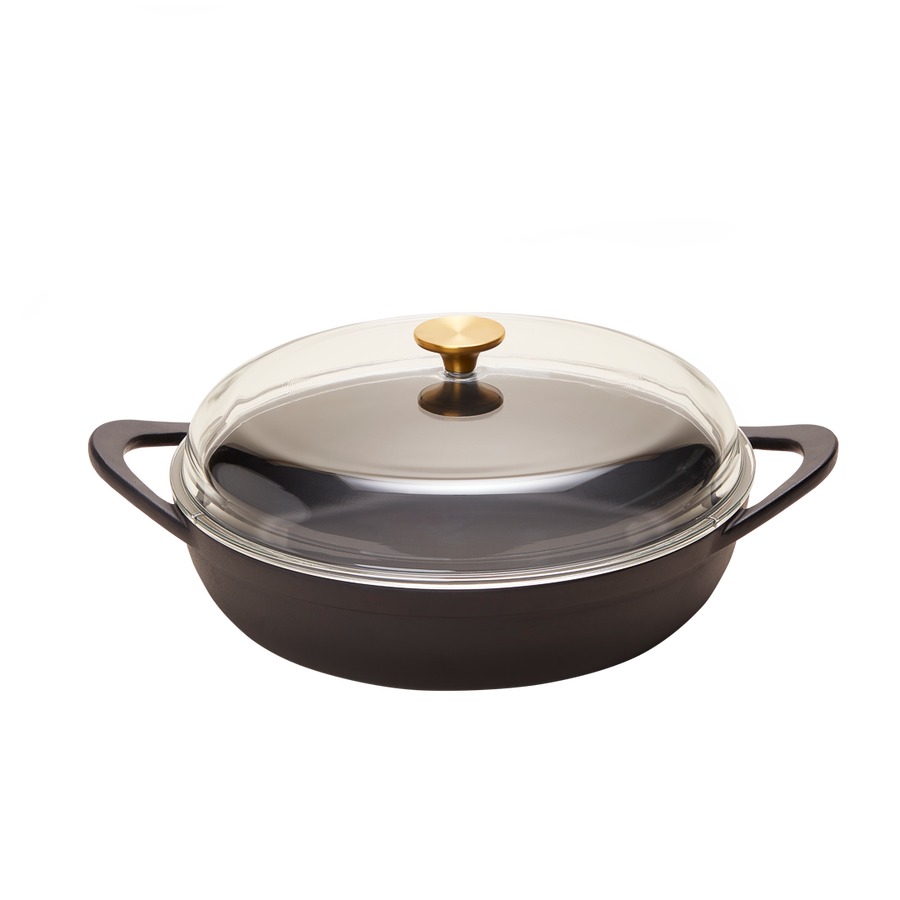
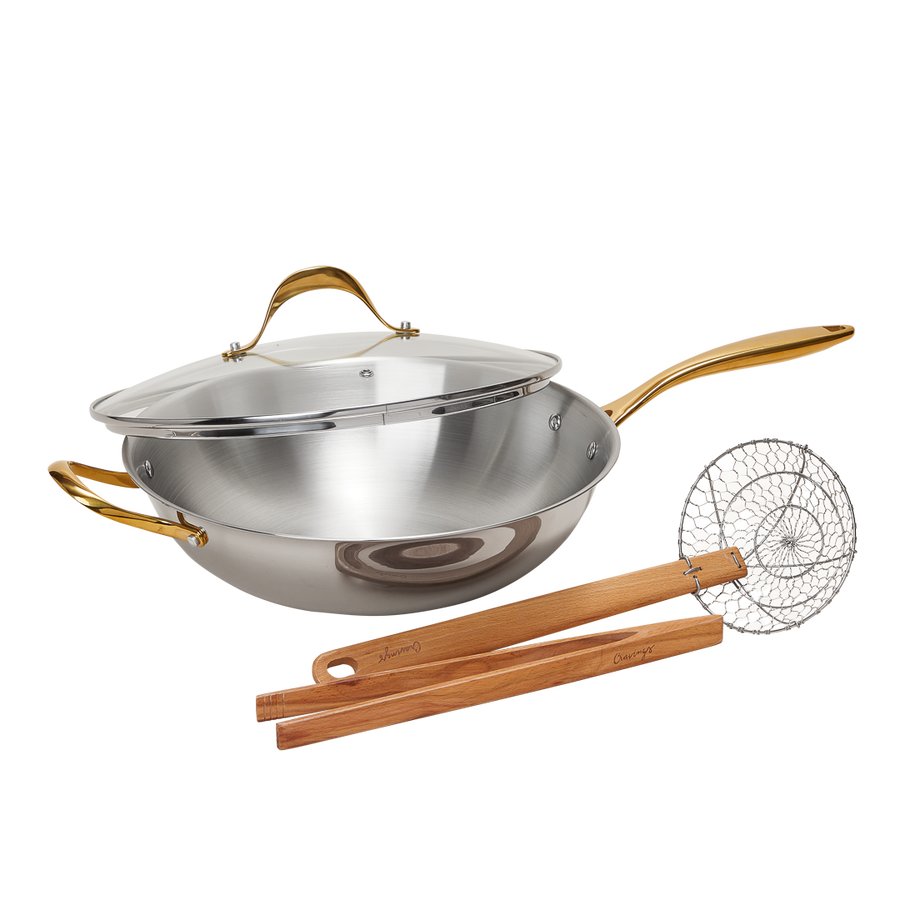
Sometimes when you think you’re deep-frying, you’re actually just shallow-frying, which uses less oil. Shallow frying is great for thinner items that don't require a ton of oil to crisp, such as breaded cutlets or croutons. It usually requires 1–2 inches of oil in a shallow pan (like a cast iron skillet or sauté pan). Deep-frying, on the other hand, completely submerges your food with oil to properly cook through in a timely fashion before burning or overcooking, and requires 3–4 inches of oil in a deeper style pan, such as a braiser, Dutch oven, or wok.
HOW TO AVOID SOGGY, OILY FRIED FOOD
Be sure to continuously monitor your oil’s temperature, as it will cool down as more food is added. If the temperature gets too low, your food can get soggy and oily instead of nice and crispy! Using a pan with a wider surface will help prevent overcrowding the pan, allowing each piece of food to be surrounded by oil and get evenly crisp. If things are too close together, it will result in steamed instead of fried food that is both oily and dry at the same time. Yikes! Plus, more space means it is easier to flip and turn your food.
HOW TO PREVENT SPLATTERS
When lowering food into hot oil, go low and slow! Try to get it as close to the surface of the oil as possible so it doesn’t drop in and make a splash. Use a long-handled kitchen utensil (like a spider strainer or tongs) to slowly add your item, and always add the food away from you so splatters happen on the far side of the pan. Make sure there is no moisture on your food before you fry—water will immediately start splattering when it makes contact with hot oil!

OKAY, BUT WHAT IS DOUBLE-FRYING?
Just as the name implies, double-frying is a technique in which you—drumroll, please!—double fry your food. Usually it is done first at a lower temperature to cook the food through and give it a light-colored crust, and then a second quick fry at a higher temperature for an extra-crispy, deeply golden crust. This technique is common for Belgian fries and Korean fried chicken, and helps ensure juicy meat or tender potatoes with an incredible crunch on the outside.
HOW TO REST YOUR FOOD AFTER FRYING
Just like how you should rest a steak to make sure all the juices don’t run out on your cutting board, you want to rest your fried food, too. Set a wire rack (also known as a cooling rack) over a sheet pan lined with paper towels. This allows residual oil drippings to fall below rather than reabsorb into your fried food, and keeps air circulating around the food so it doesn’t get soggy. And if you sprinkle with salt immediately after frying as your food rests, the little bit of oil left on the surface will help the salt adhere!
THE RIGHT WAY TO DISCARD USED OIL
Once you’ve deep-fried, it’s time for cleanup. Do NOT pour oil down the drain—it will solidify and clog your pipes! Instead, reuse or discard it. If your oil hasn’t taken the odor of the food you’re frying (such as fish) or darkened in color, let it cool completely, strain with a fine-mesh sieve to remove food particles, and then store in a container in a cool, dark place to use again. (You can repeat this process and reuse a few times, as long as it does not smell rancid and has not darkened in color.) Otherwise, let your oil cool, place into a tightly sealed bottle or jar, and throw away with your normal garbage. This may be the least glamorous part, but it’s still an important tip for future frying nights! Now go forth and make John’s legendary fried chicken.


